Edit model via UI
There are two ways to edit the model using the UI; the Gridview Editor and the Model Page Editor.
The model page editor guides you in a user-friendly way though the UI to create/edit a table and its fields. It dynamically shows/hides options which are relevant/irrelevant depending upon other selections. Computed fields can be tested.
The Gridview Editor provides a similar experience like using Excel to edit the model, including ability to filter and sort fields and settings. It’s useful for finding all fields across your mart that have certain properties, like all fields of a certain type, or all required fields, etc.
| Functionality | Gridview | Model Page |
|---|---|---|
| Ability to Create/Edit Tables and Fields | Y | Y |
| Ability to test Computed columns | N | Y |
| Dynamic options selection by type | N | Y |
| Single Click delete | N | Y |
| Sort/filter fields and options | Y | N |
| Find all fields in mart of a certain type, etc. | Y | N |
Model Page Editor
Add/remove tables
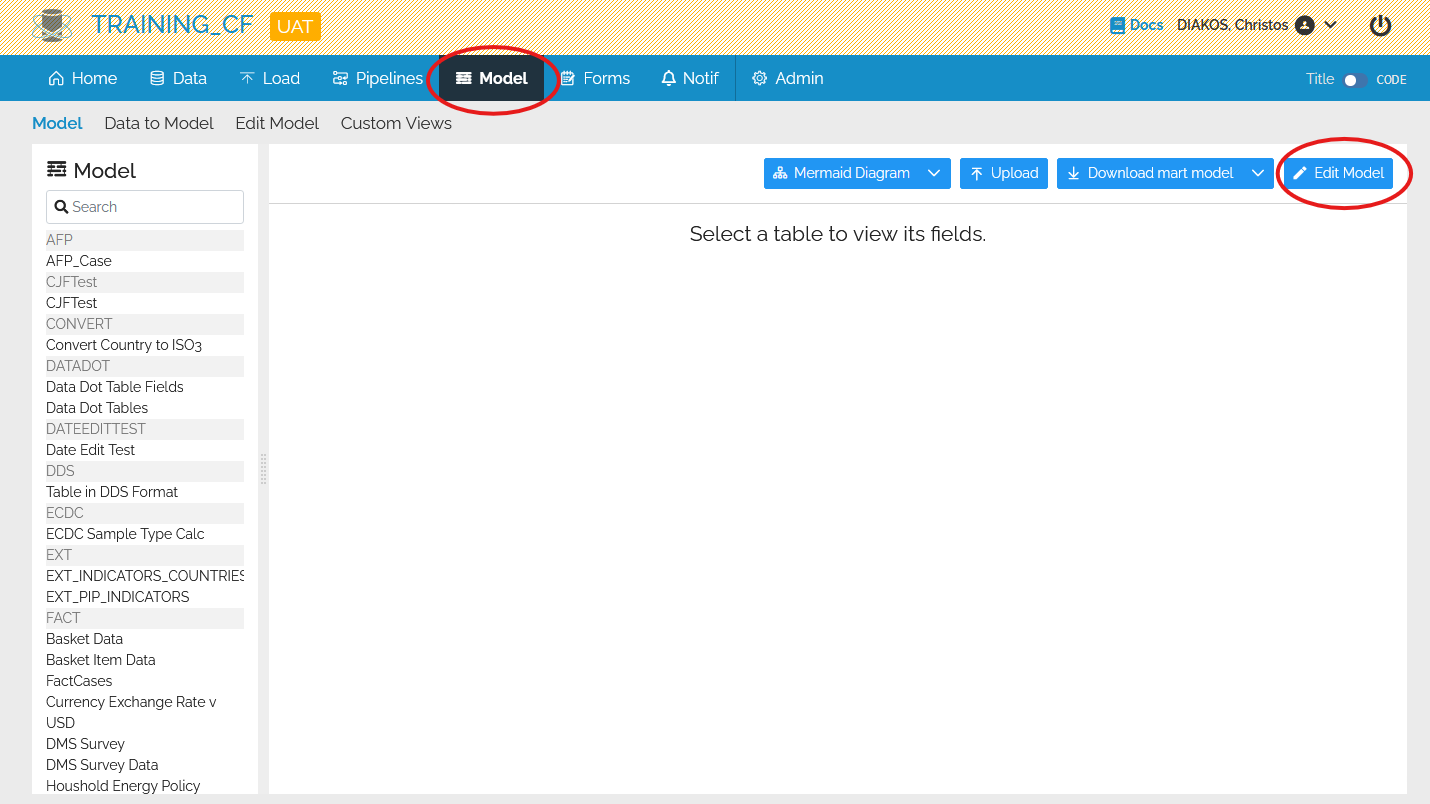
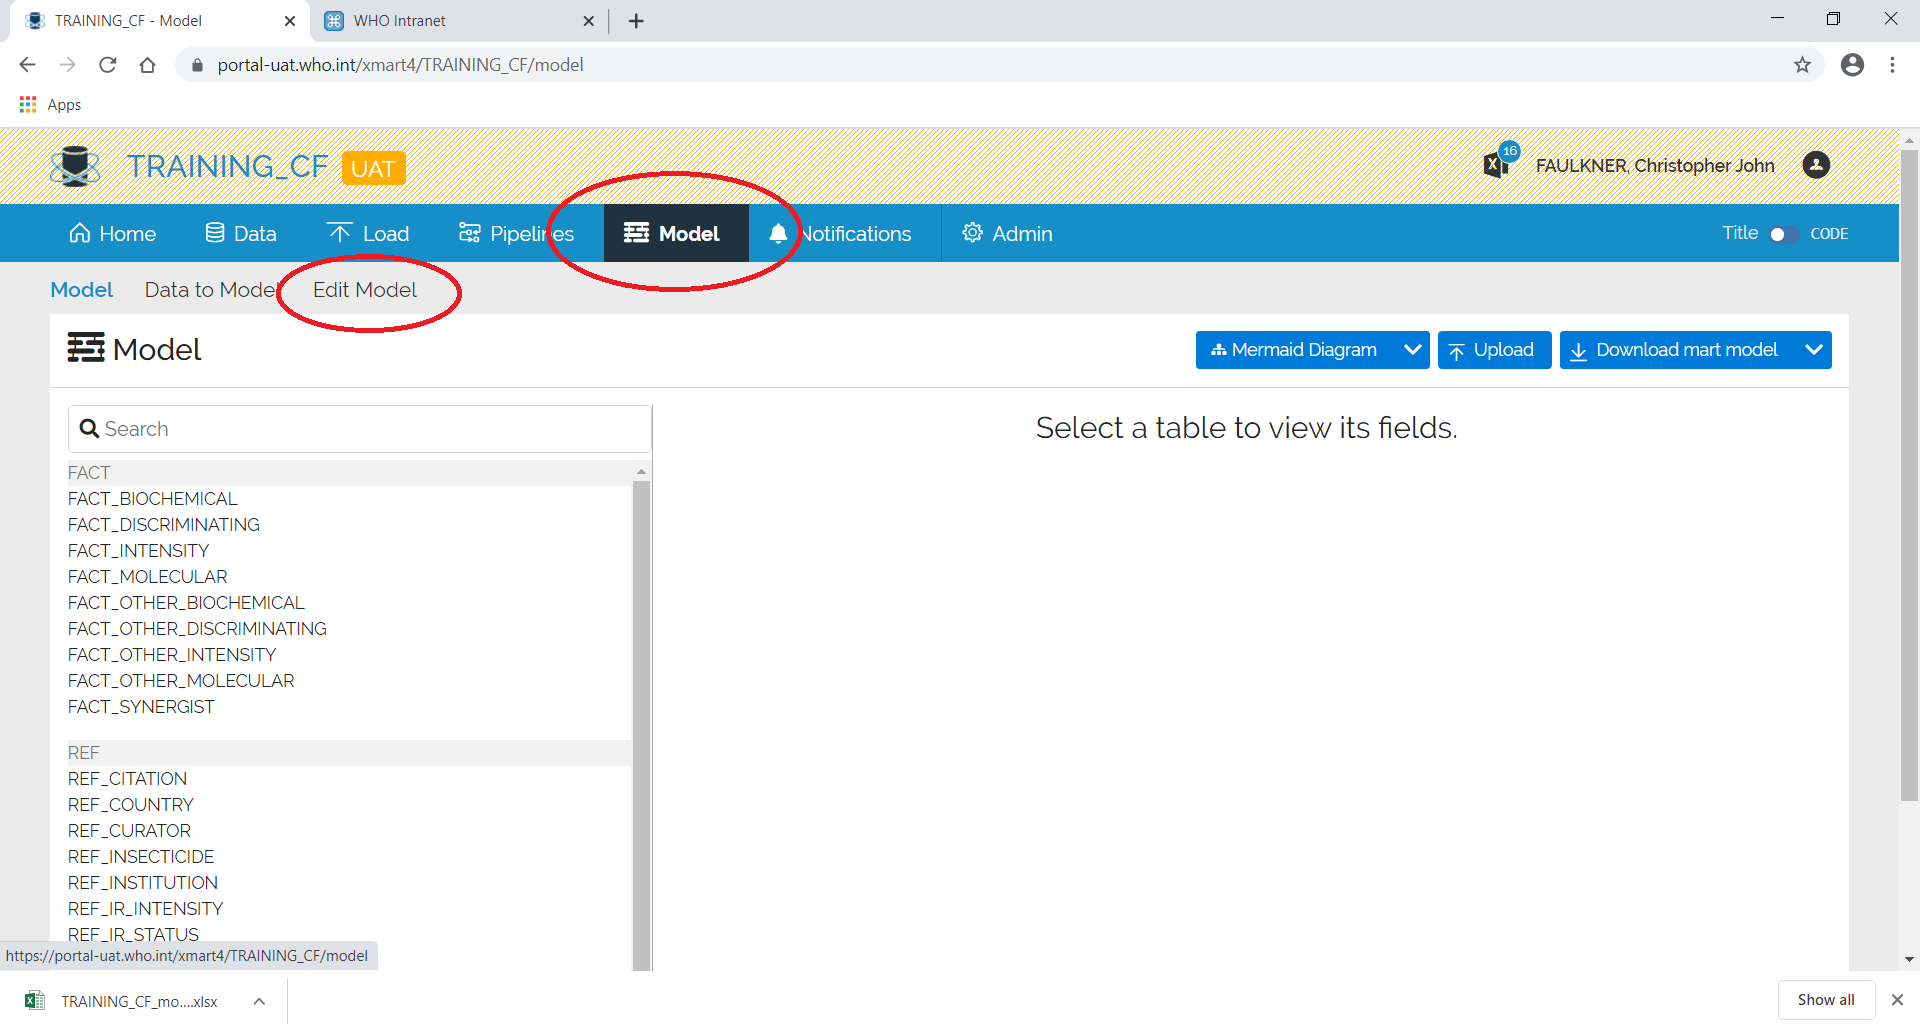
Click on Model from the top menu and then Edit Model, on the right:
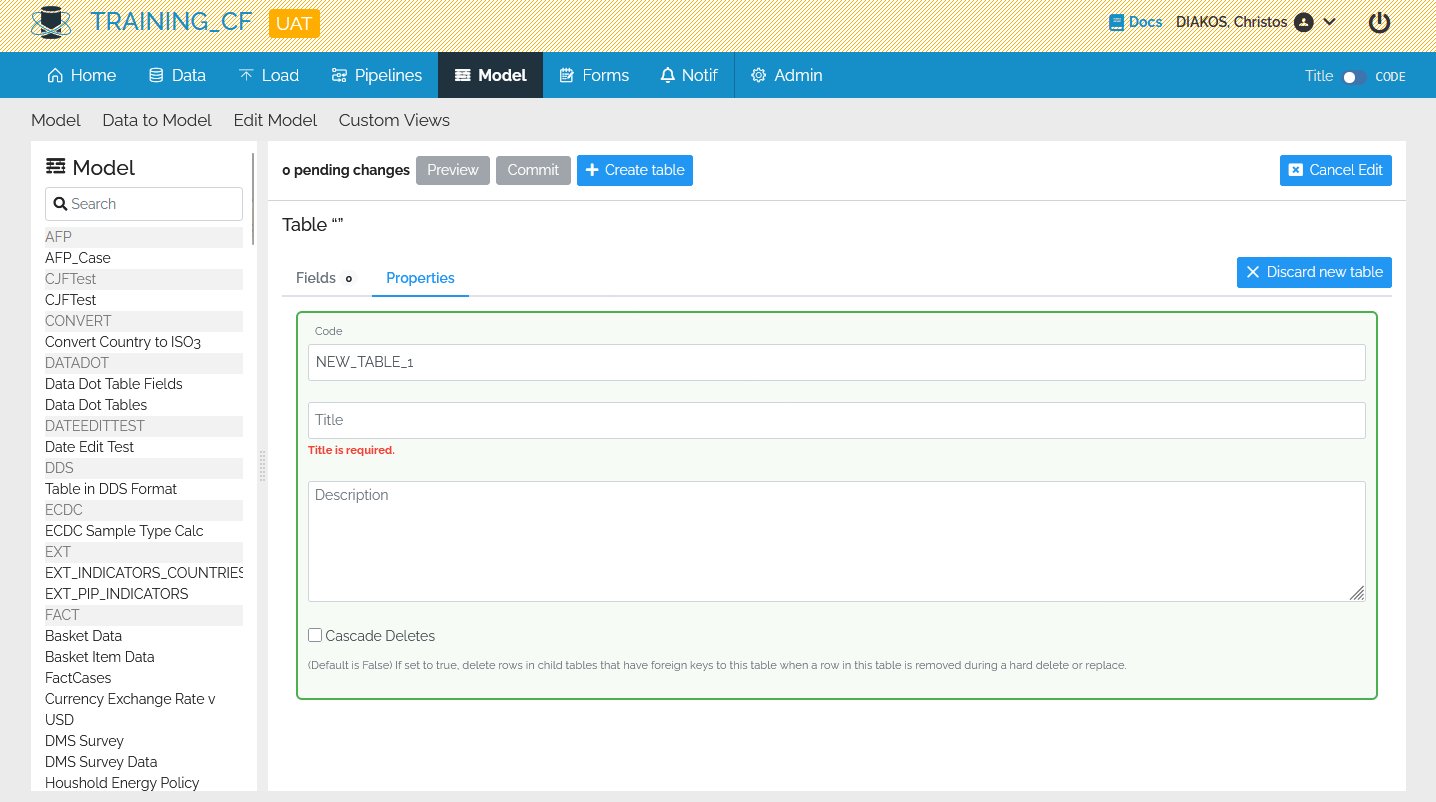
Click on Create table:

Fill out the table properties:
Add/remove fields
After filling out the table properties select the fields tab and then click on the + symbol:
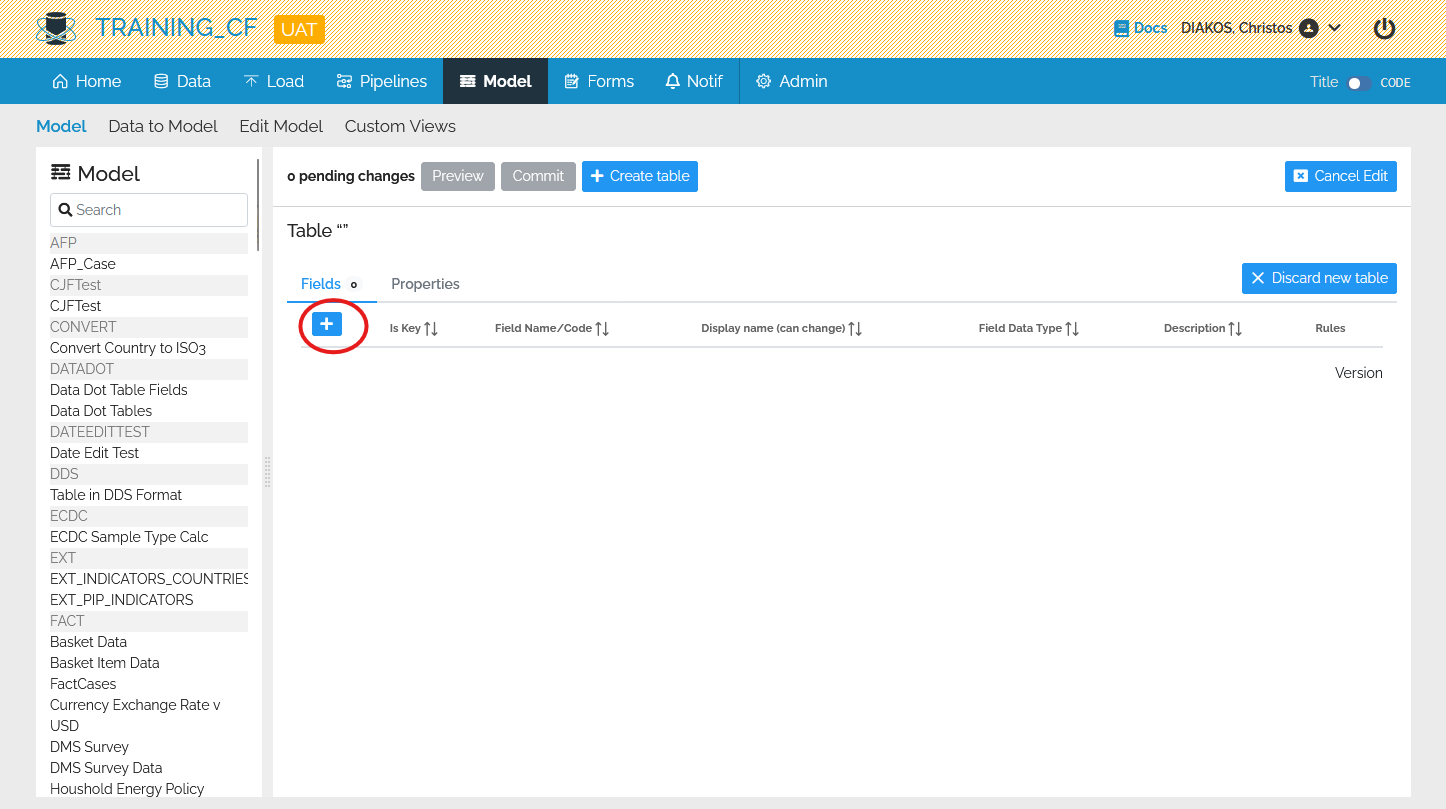
Fill out the properties and click add:

Edit fields
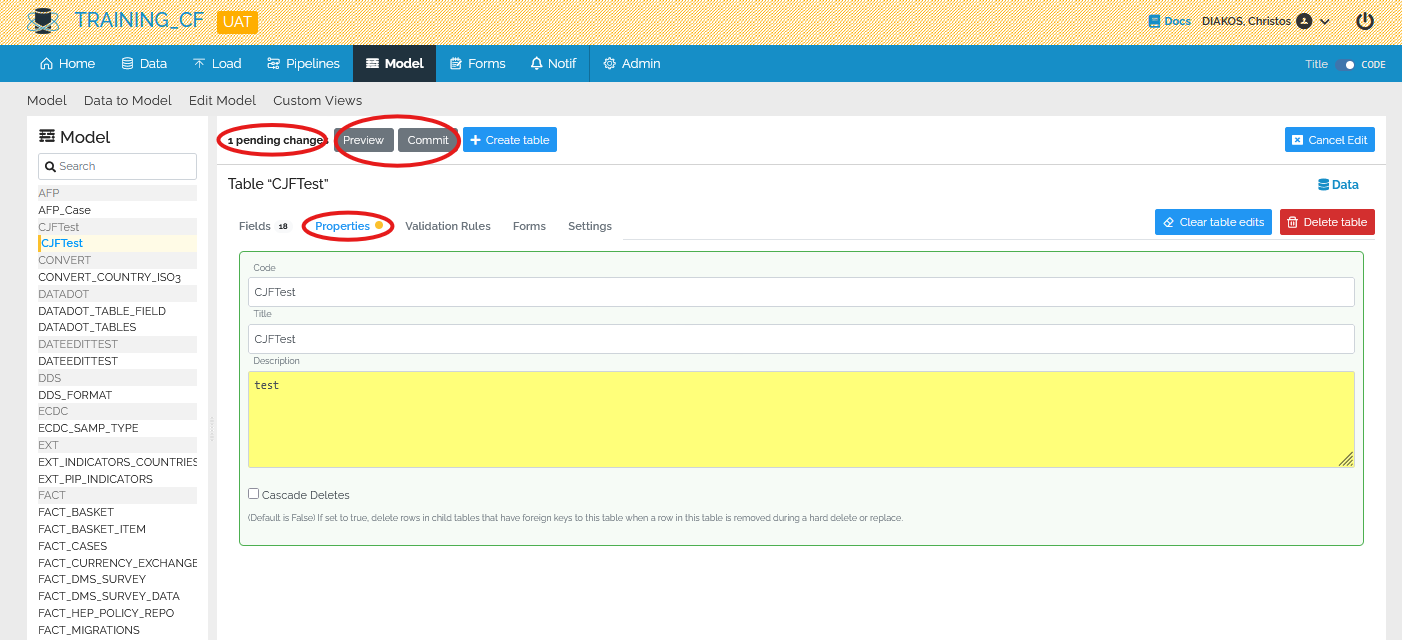
To edit fields, click on the fields tab of any table you wish. Then on the pencil icon and make the change you wish. Each table that has a property or field edited, is highlighted with yellow on the left sidebar.
After wards, you may submit your changes by clicking Preview or go straight to Commit.

Note: Please edit the CODE of each field only if it’s absolutely necessary and keep in mind it might affect, for example, how pipelines behave.
Multiple Tables/Fields Edit
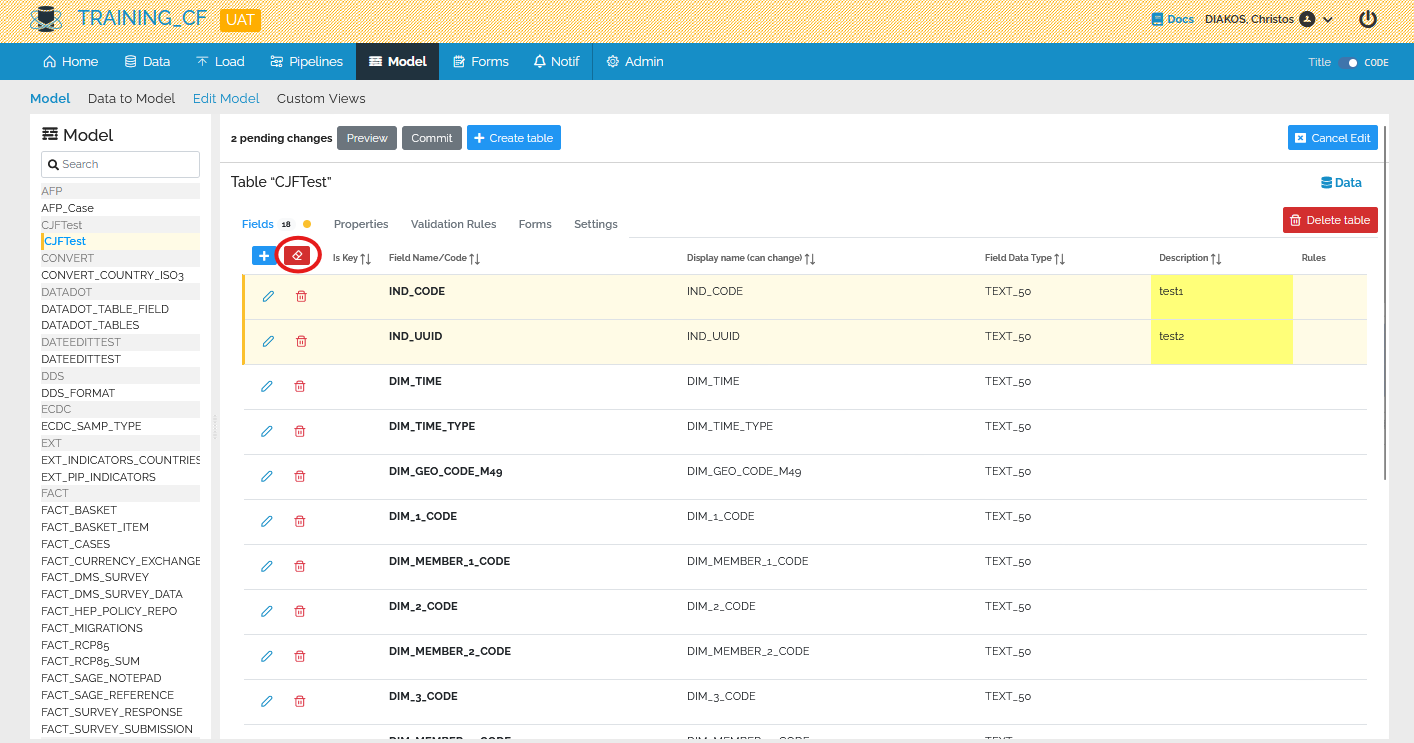
In the Model Page Editor you may edit multiple tables and fields. The system accumulates your changes and highlights changes. For example, each edited field is highlighted with yellow. You may see the number of changes you have made at the top left, and also preview or commit your changes.
You may follow the same process for multiple tables before clicking preview or commit.
Clear Edits
You may click the eraser at any point to clear all the edits you’ve made so far.
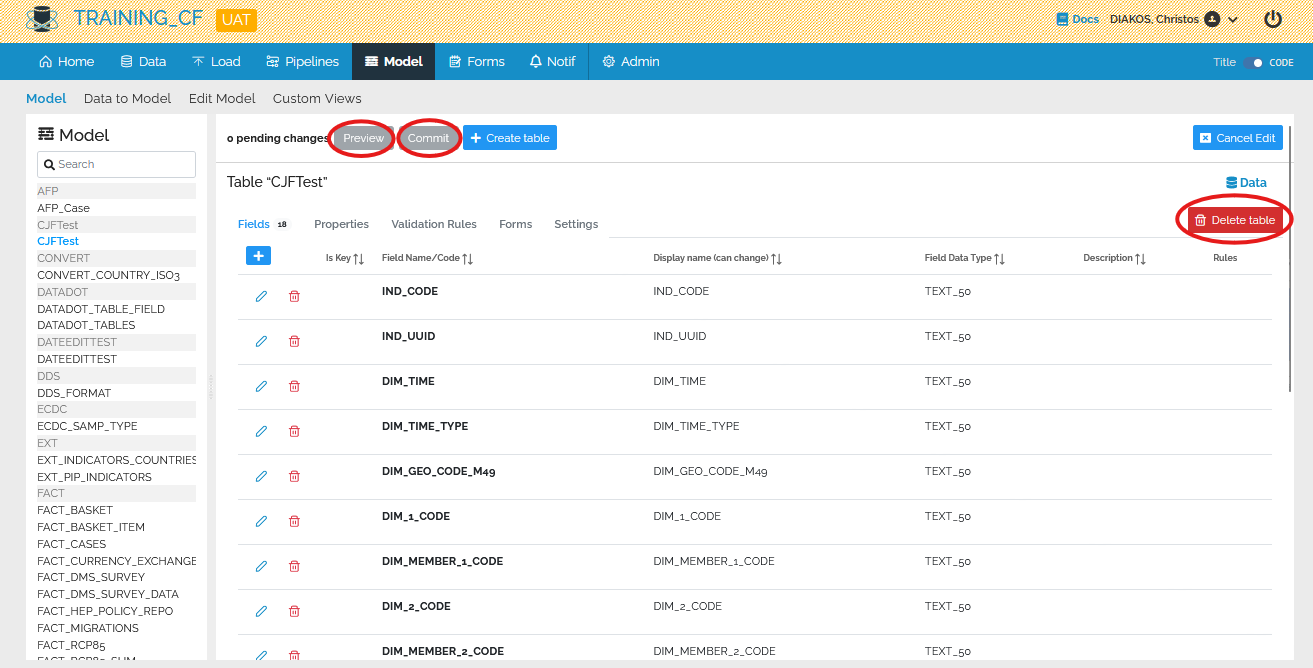
Delete a Table
Under the Edit Model mode, you may select any table from the column on the left, then click delete table and then preview or directly commit.
Gridview Editor
Add/remove tables
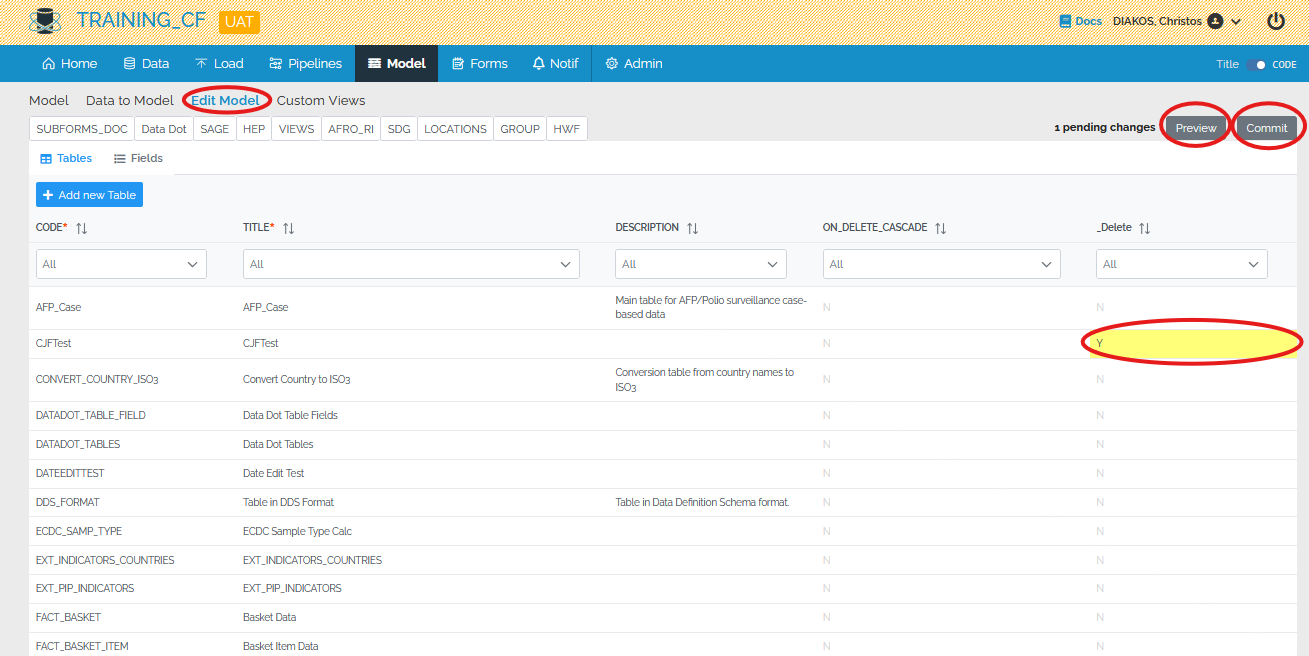
Click on Model from the top menu and then Edit Model:
If not already visible, click on the Tables tab. If there is already a model, the tables should appear.
A new table can be added or you can change the name of an existing table.
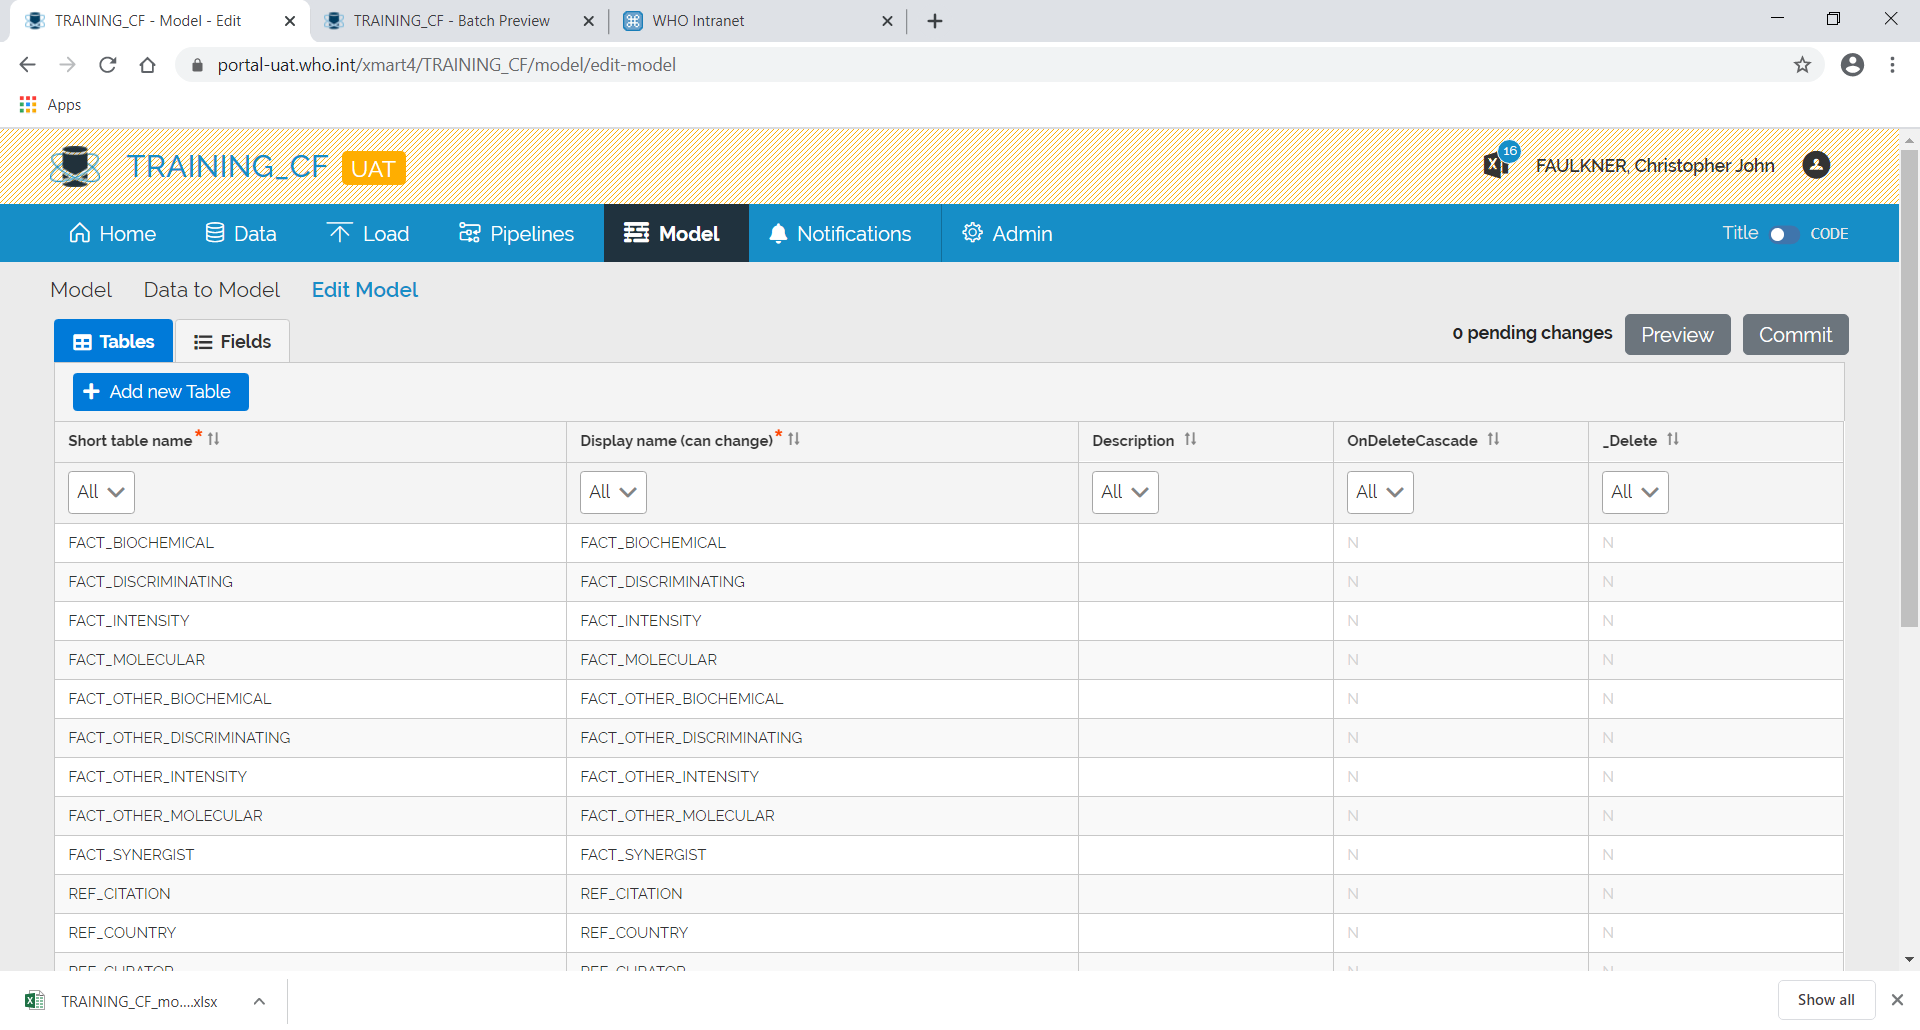
To remove a table, enter “Y” in the _Delete column.
Add/remove fields
Click on Model from the top menu and then Edit Model:
Click on the Fields tab:
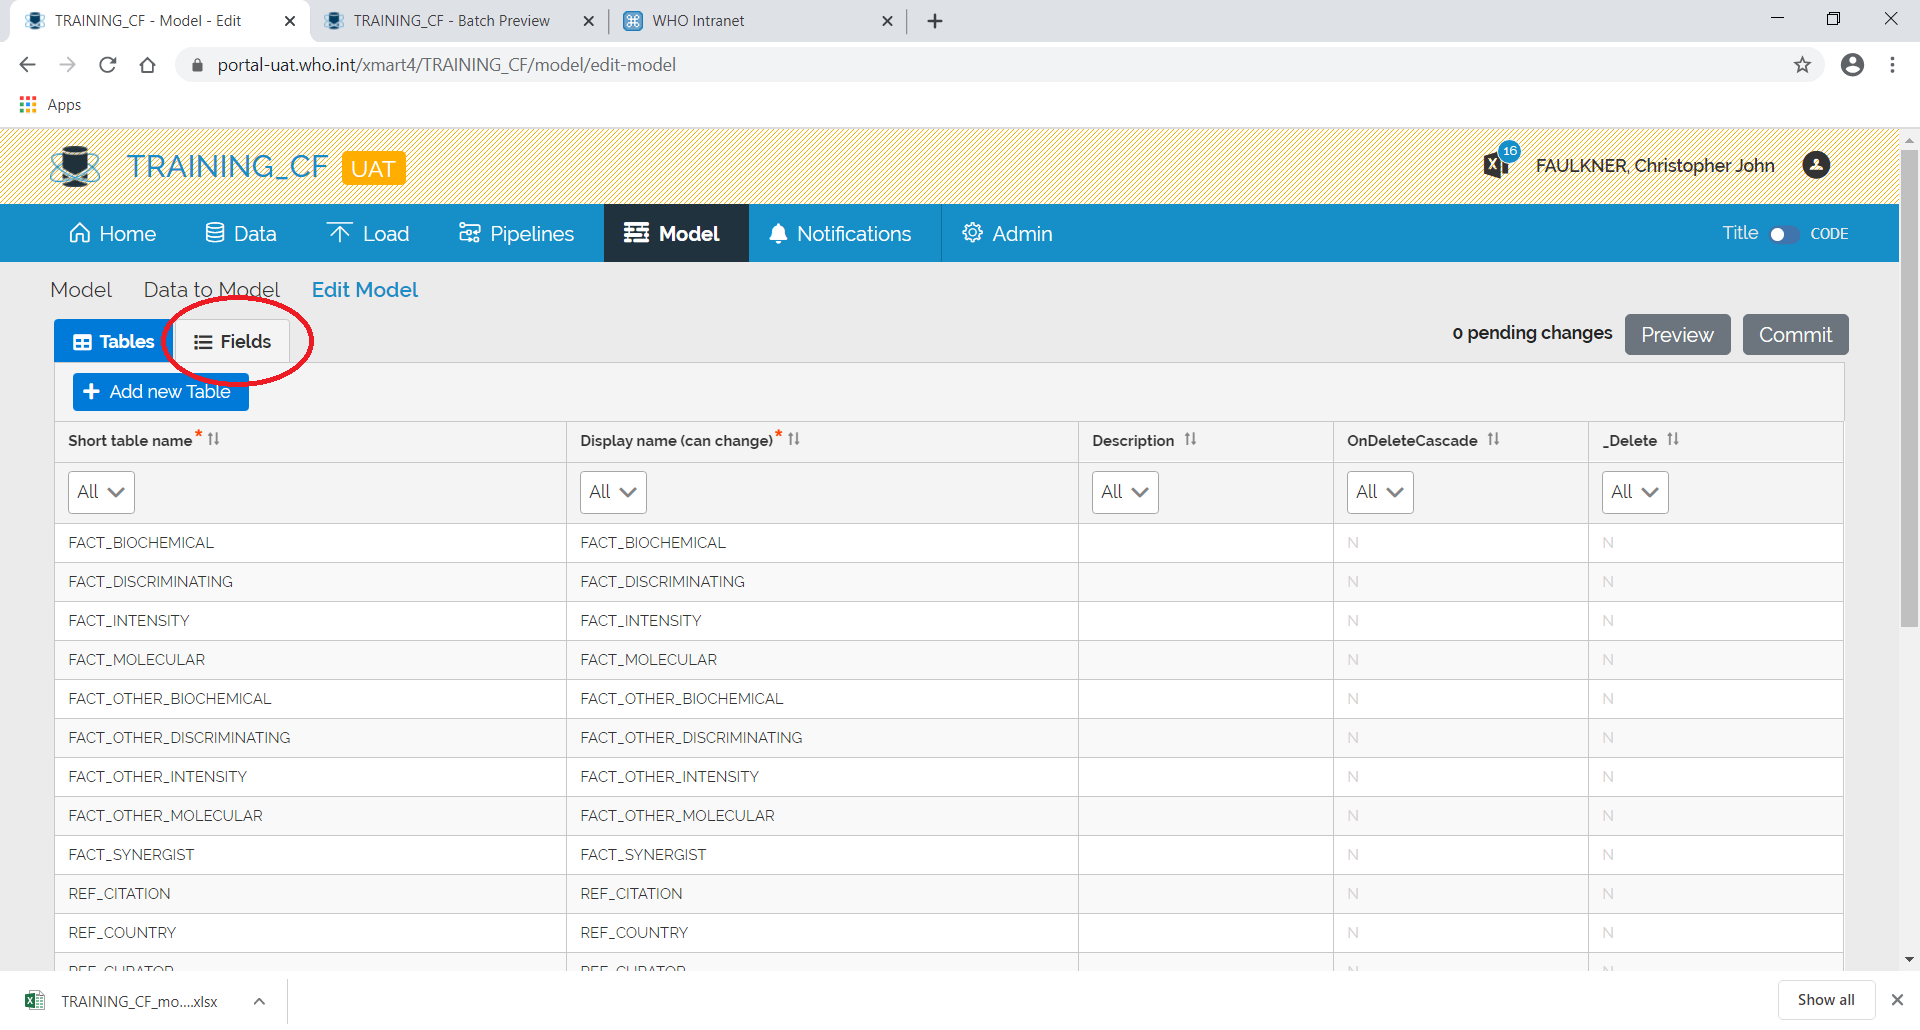
A list of fields and associated tables will appear.
To find the fields for a specific table, use the filter:
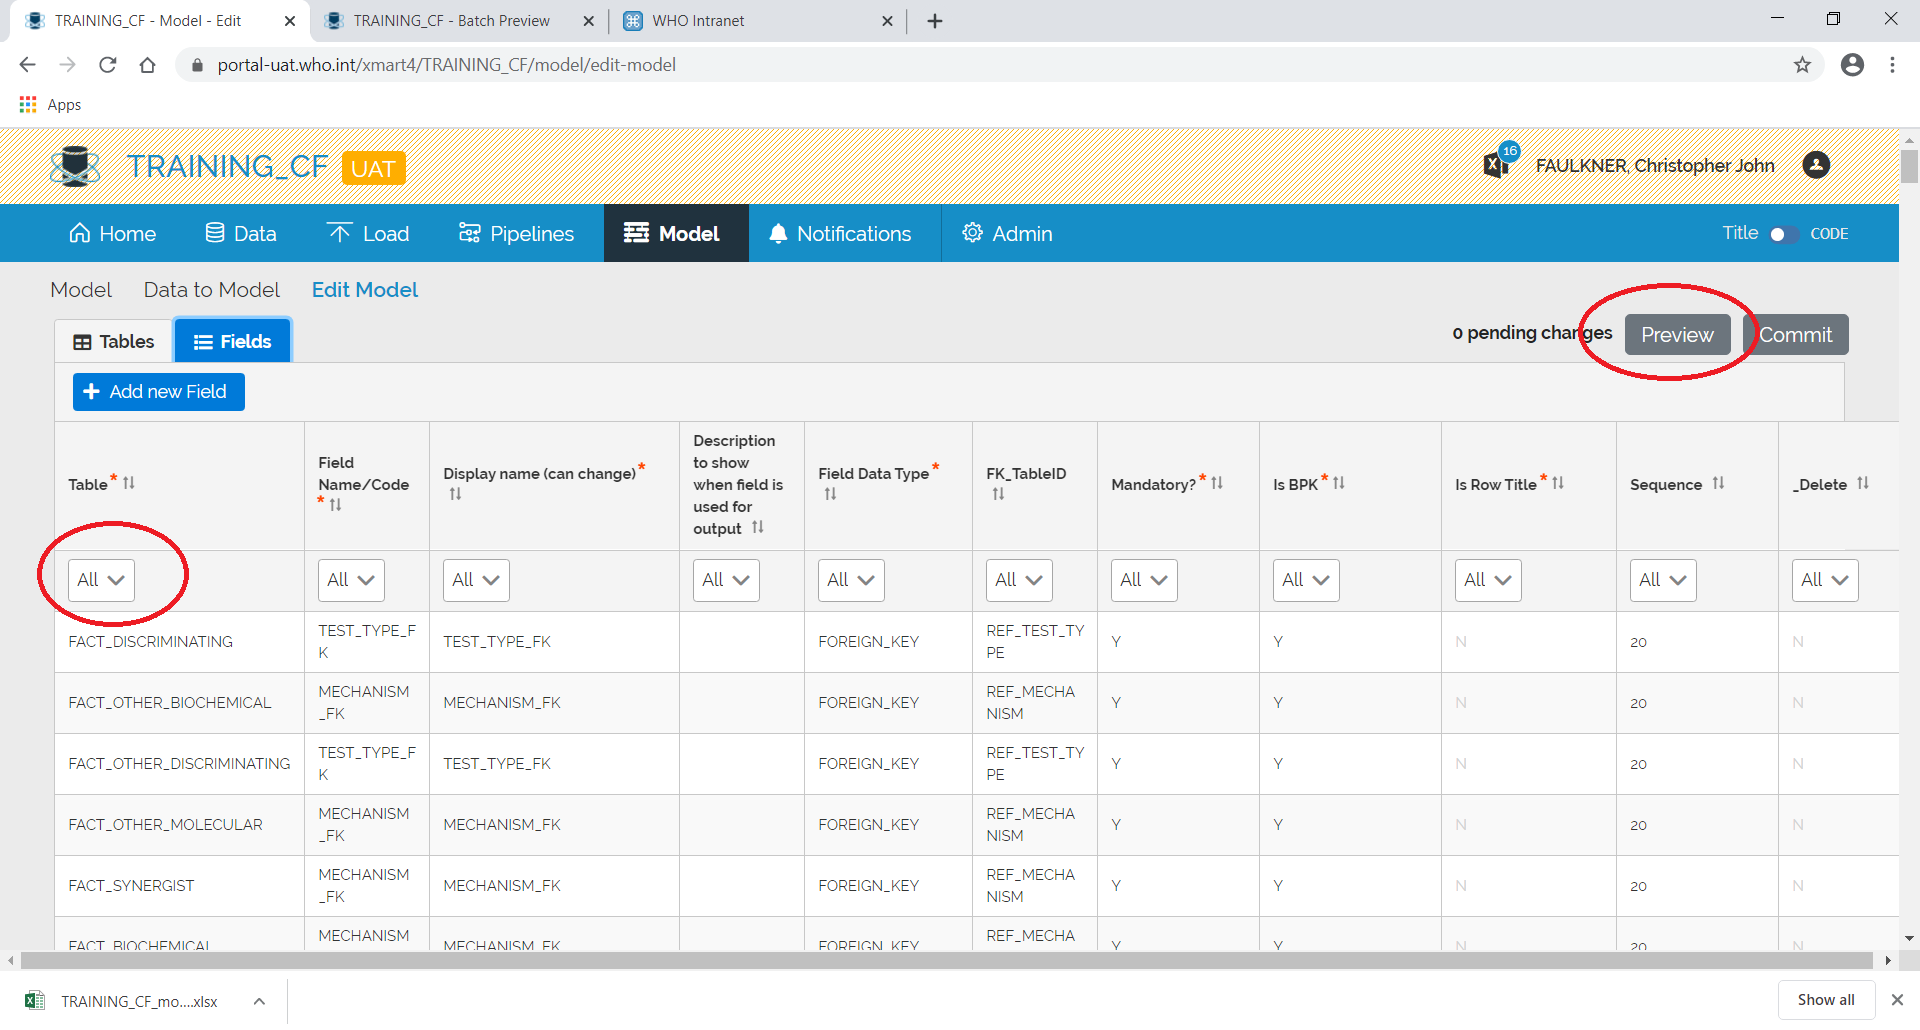
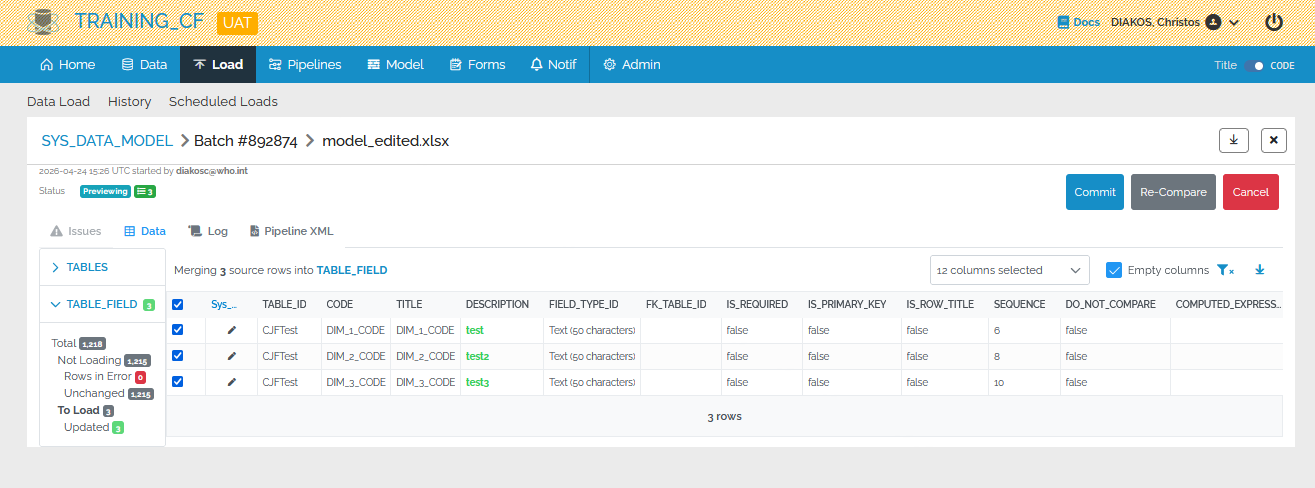
After making the changes, press Preview. A batch will start loading:
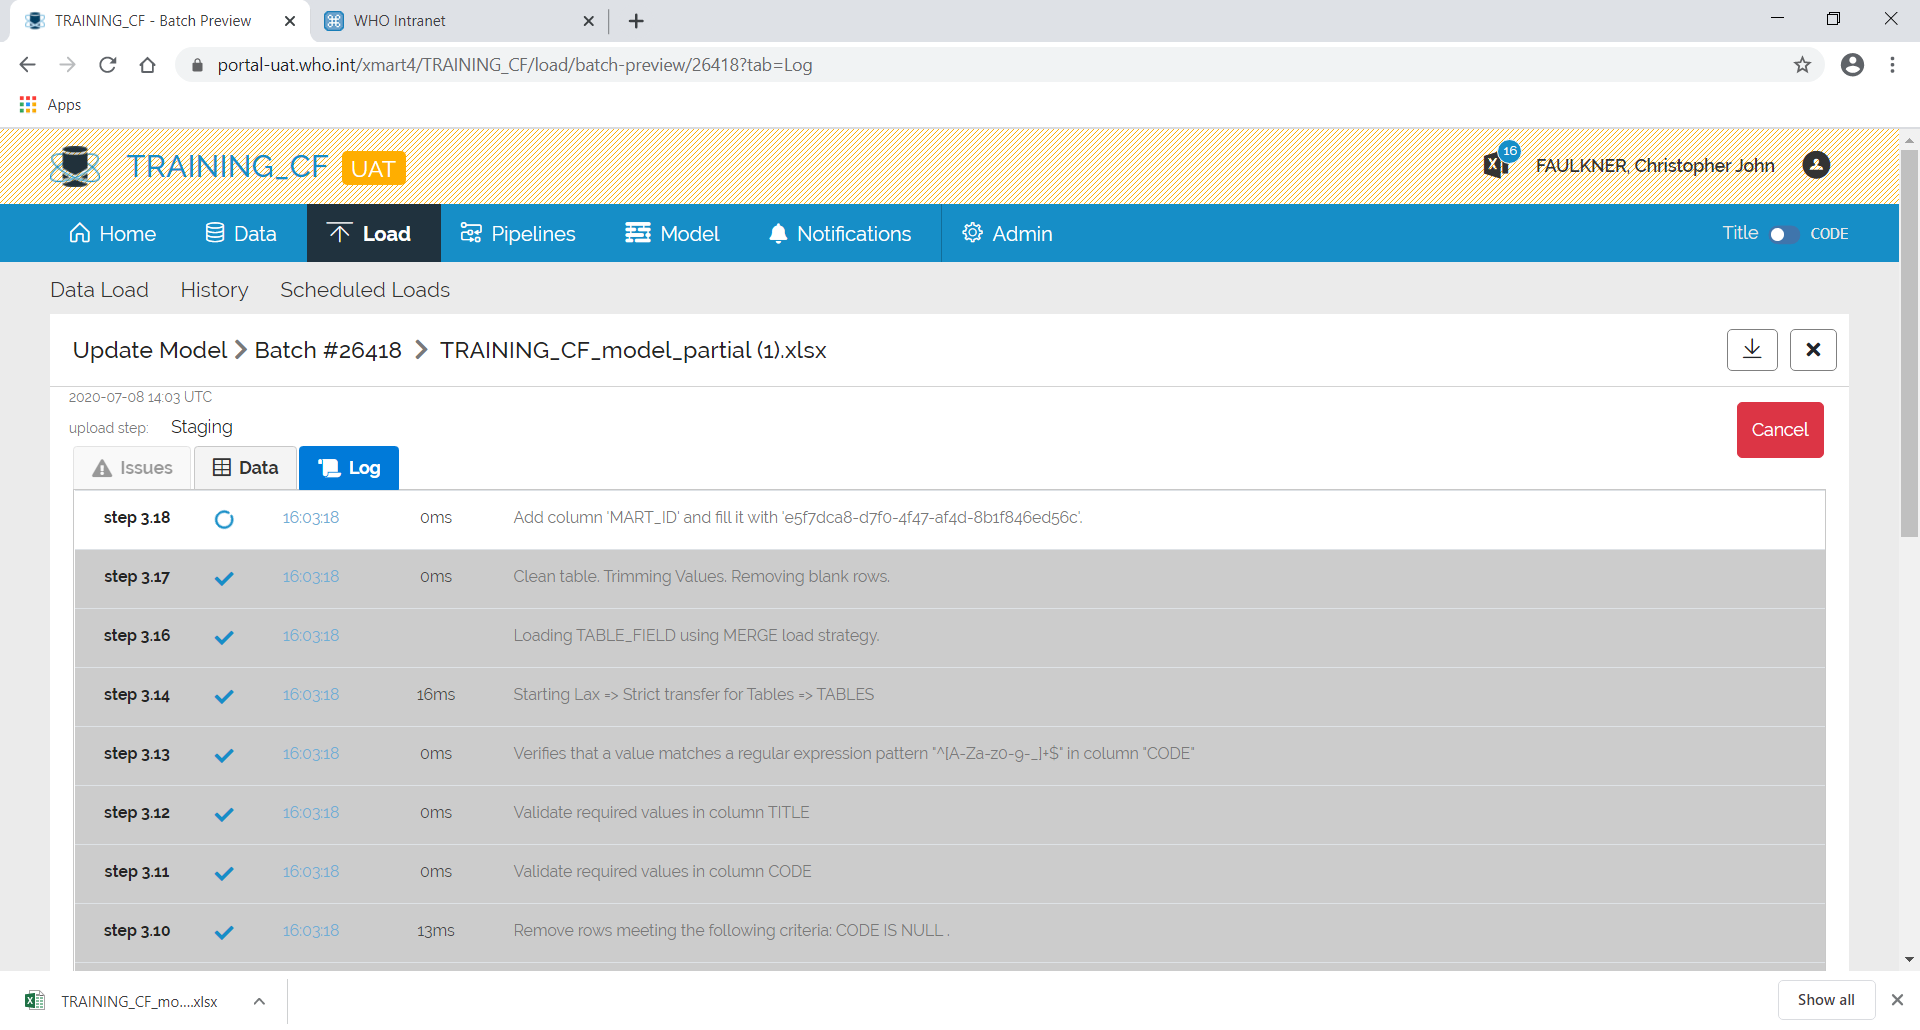
After which, a summary screen will appear showing any errors etc.
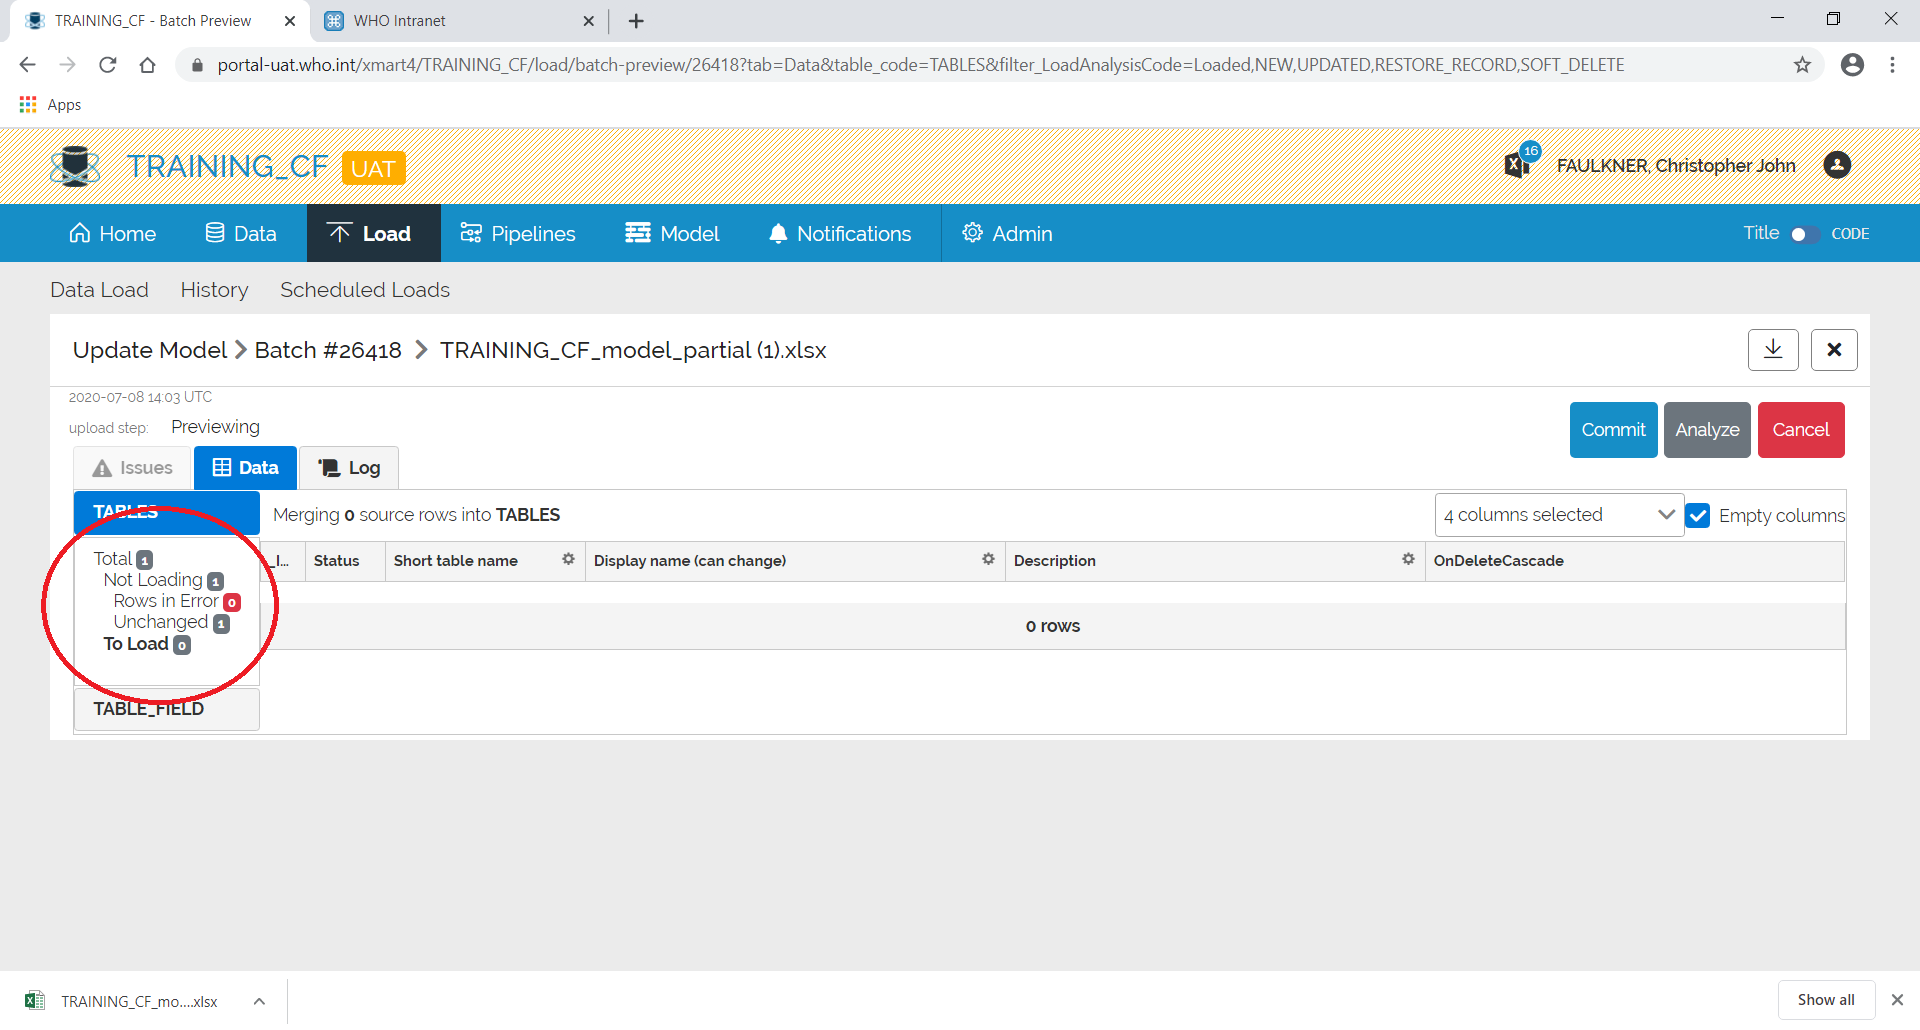
Any errors etc. can be seen by clicking on the relevant area on the left.
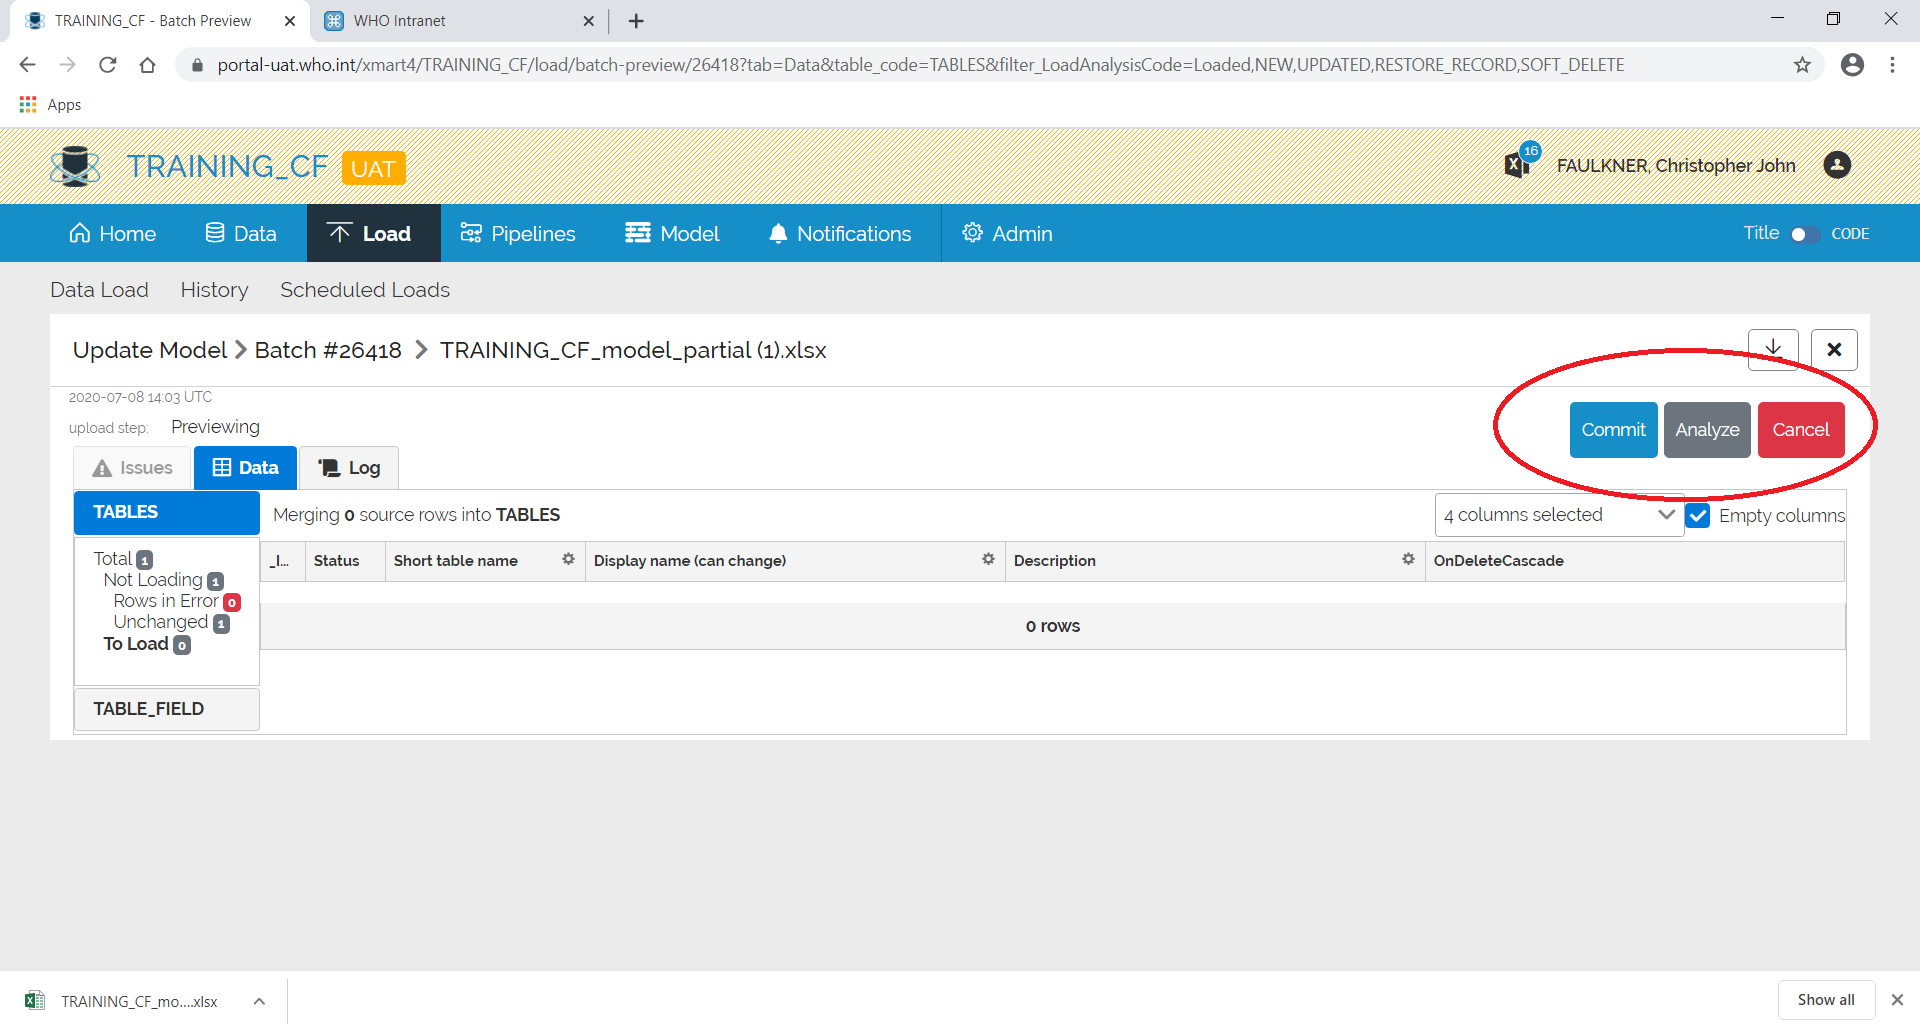
If you are happy with the results, click Commit otherwise click Cancel.
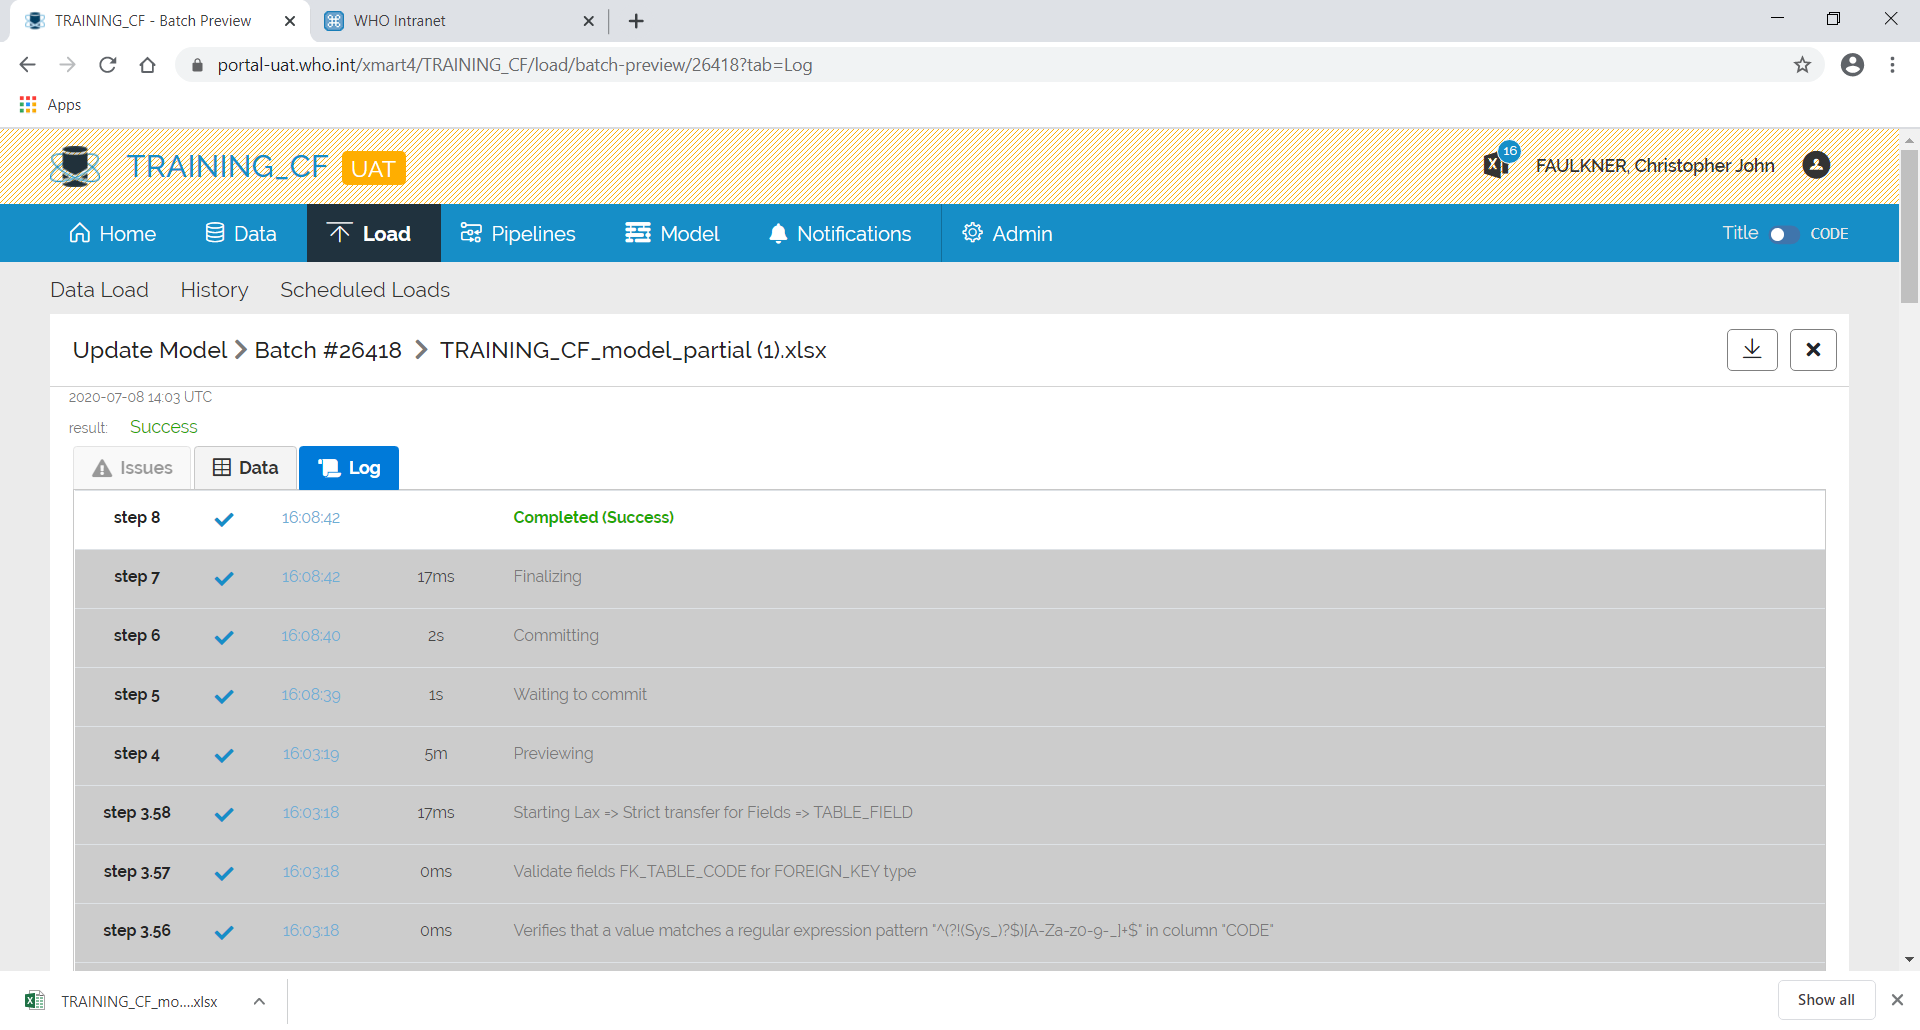
If you commit, the screen will change back to the batch and the batch will complete.
Multiple Tables/Fields Edit
In the Gridview Editor you may also edit multiple tables and fields. While in the edit model, under tables, you just click on any text box and edit what is in there.
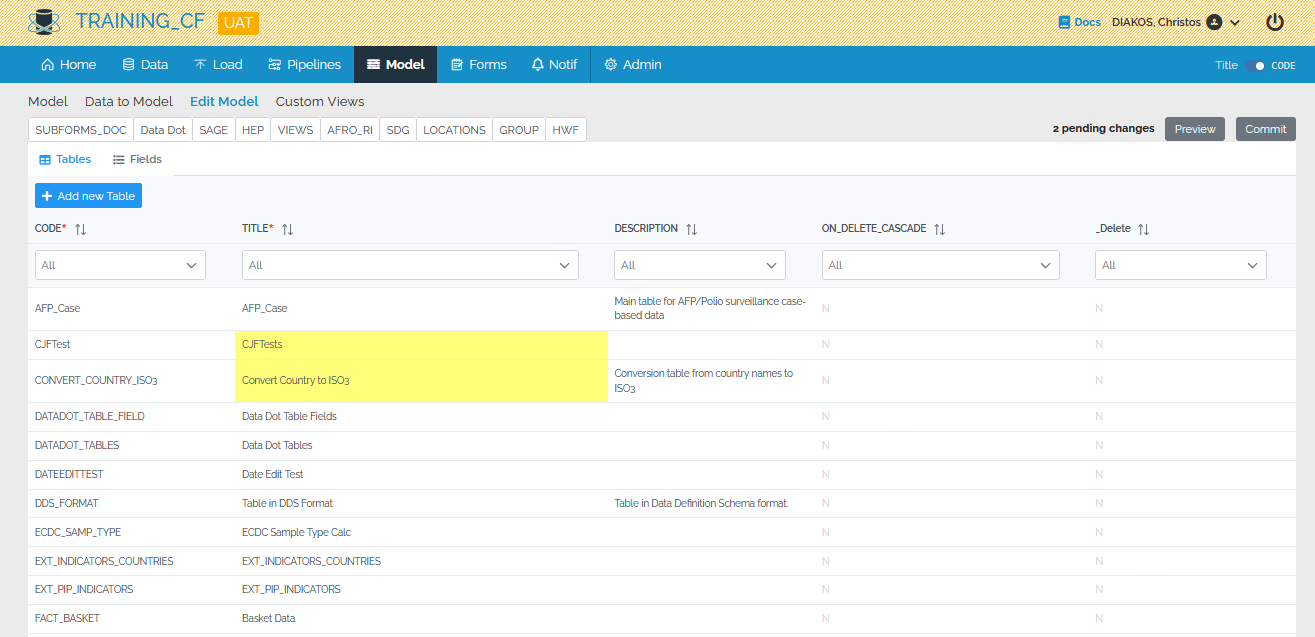
The same approach also goes for the fields. You navigate to the fields tab, select the table(s), you wish to edit and by clicking inside any text box, you edit them.
The summary of pending changes appears at the top of the screen. The edited fields are hightlighted in yellow.
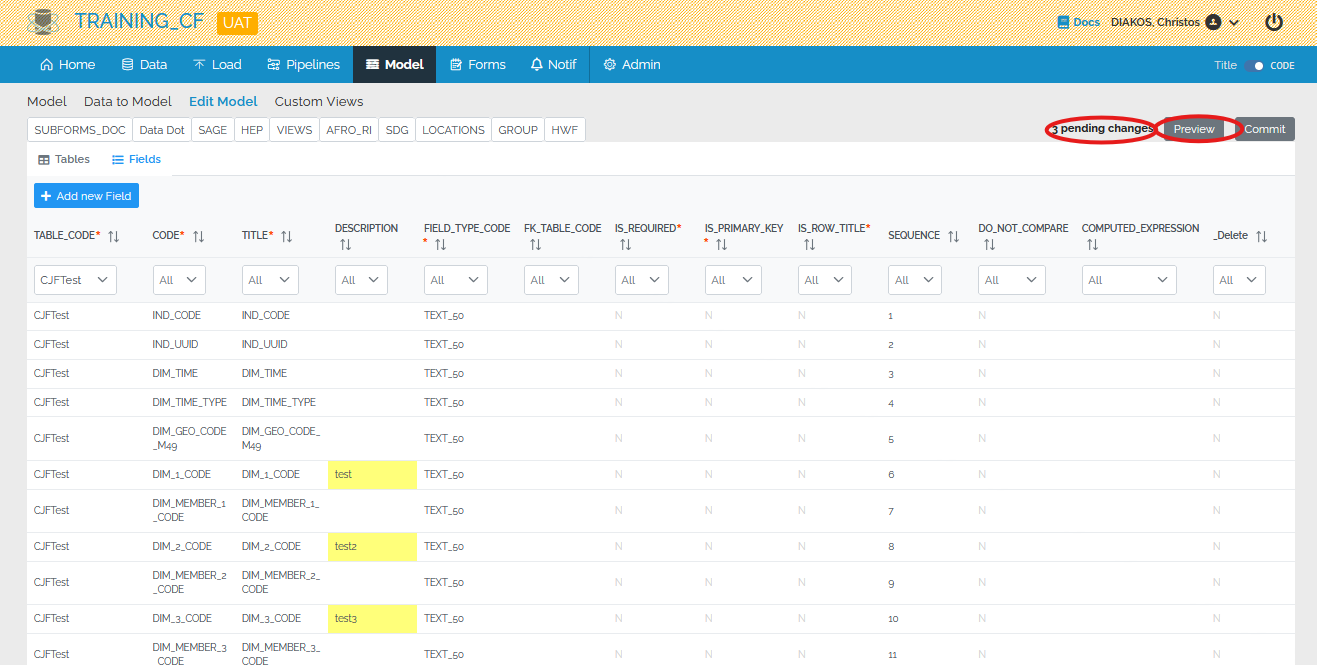
By clicking Preview, a batch with your changes will be created and in the preview page, you may preview them and afterwards you may commit.
Note: Please edit the CODE of each field only if it’s absolutely necessary and keep in mind it might affect, for example, how pipelines behave.
Delete a Table
Under the Edit Model mode, you may select any table from the column on the left, then put Y in the _Delete column and click preview or commit.