Notifications
Batch Notifications
Within a mart, the user has the ability to setup batch notifications in order to follow the outcome of the batches uploading/ commiting process.
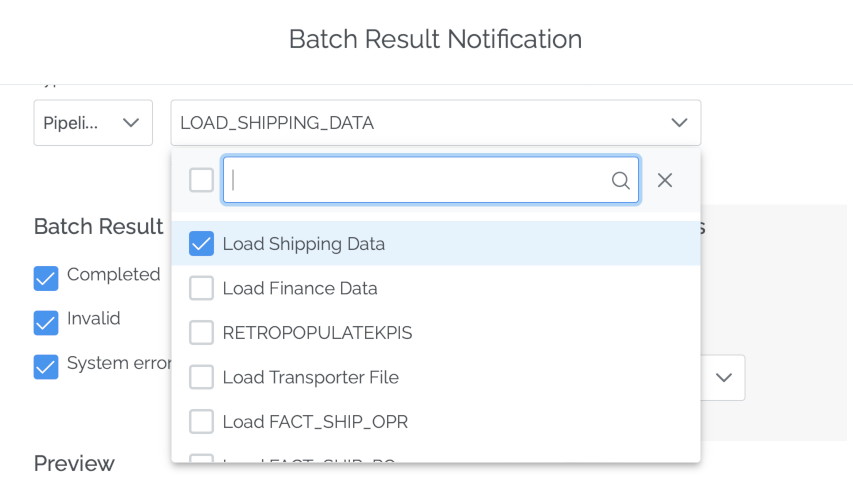
The first step of setting up a batch notification, is to select the type and the entity or entities.
The available types are:
- Origin: You can opt to be notified for the batch result of a specific origin within a pipeline
- Pipeline : You will be notified for the batch result of a pipeline
- Table: You’ll be notified for any changes in batches populating those tables.
Keep in mind you may select only one type per notification. You may create multiple notifications, for other types.
According to the selection you’ll make above, under Entities you’ll see a full list of the entities of that type.
Useful Tip
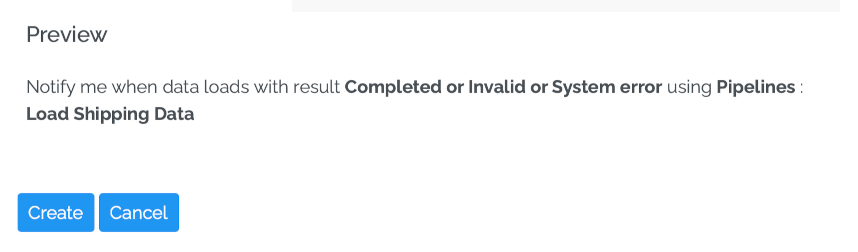
At the bottom of this box, you’ll find the Preview section. In there you can check at any time how the notification is being set up.
Next step is to select the Batch Result which will trigger the notification. You may select between Completed, Invalid, System Error, any combination of the above or all.
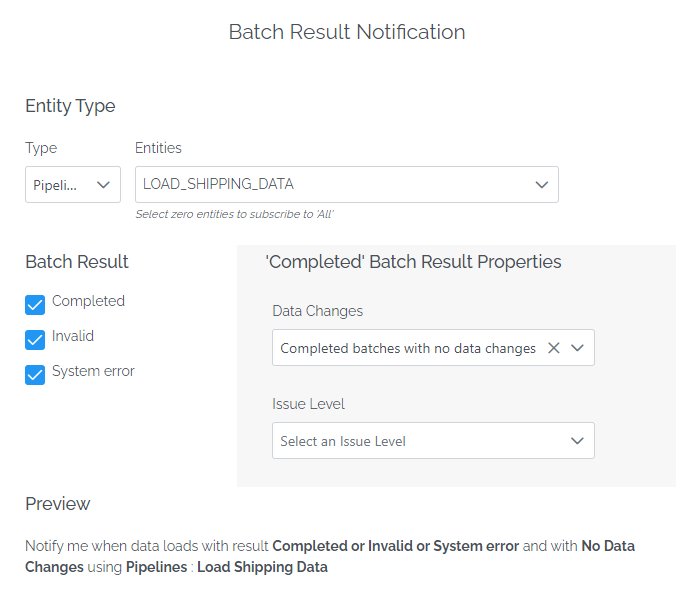
A final setting is the tweaking of the batches with a result set to Completed.
A) You may opt to be notified for batches with or without data changes. This is quite useful, for example if you wish to be notified when a completed batch is re-uploaded and therefore there are no data changes.
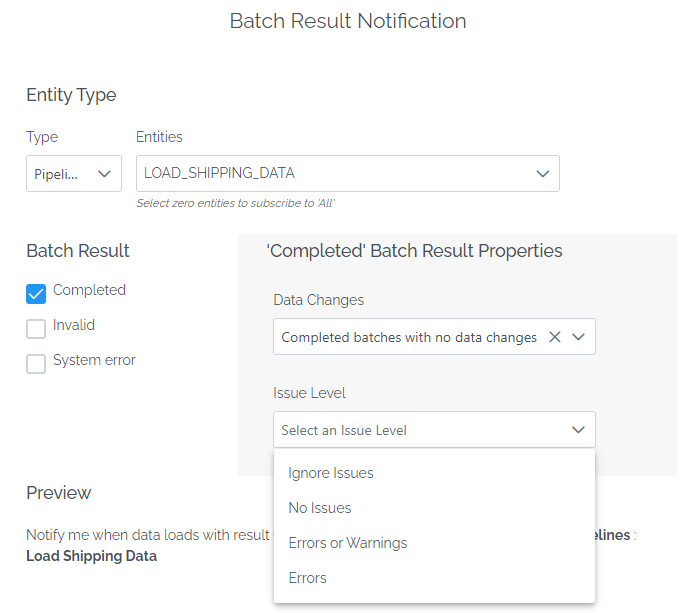
B) You can select the issue level as shown in the picture below. This is useful because you will be aware which batches you may need to review, in order to proceed to changes, if required and re-upload them.
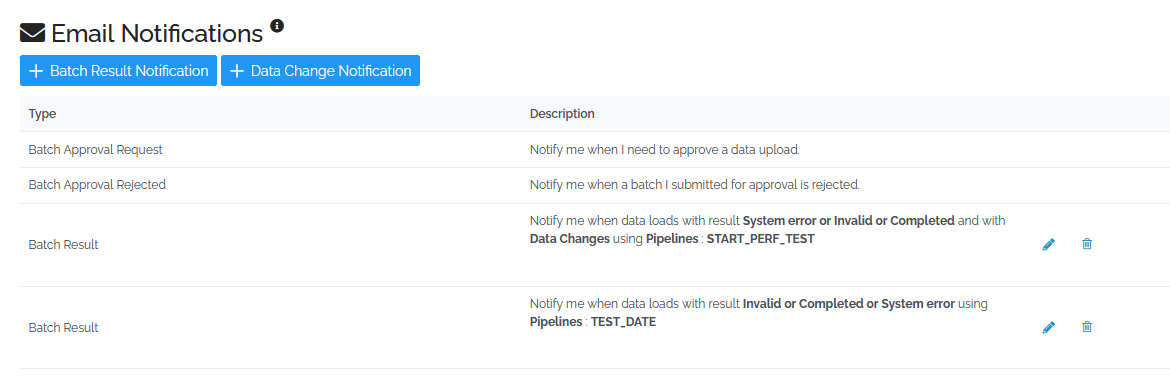
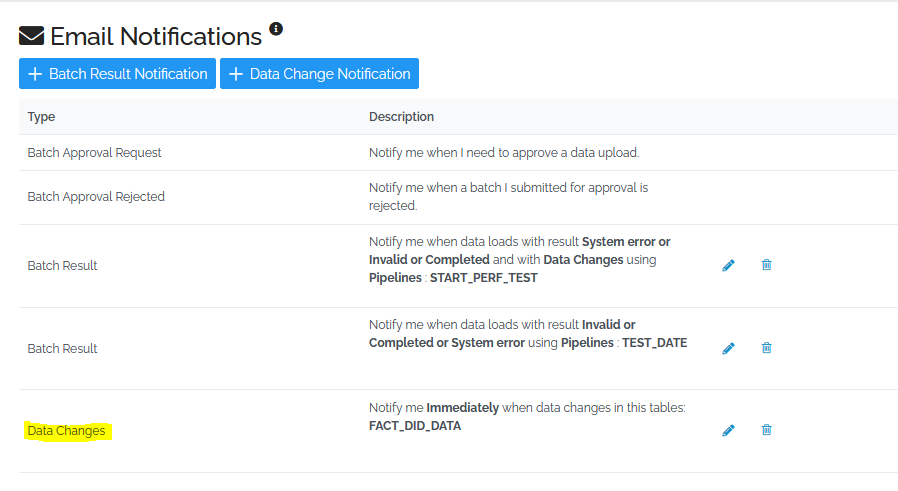
After you have successfully adjusted the notification you may click create and you’ll be redirected to the notifications page, where you’ll the list of all the created notifications, which, if you wish, you can edit by clicking on the pencil icon or delete them.
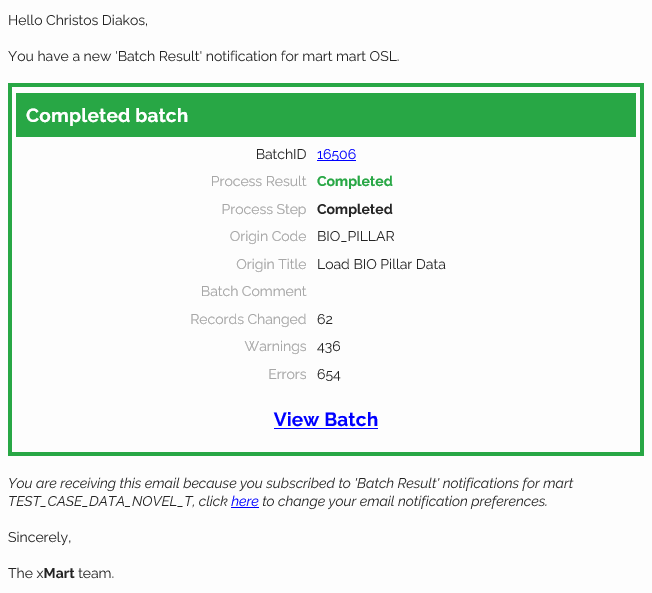
If you’ve set everything correctly, when the notification is triggered you will receive an email that looks like the picture below.
Data Changes Notifications
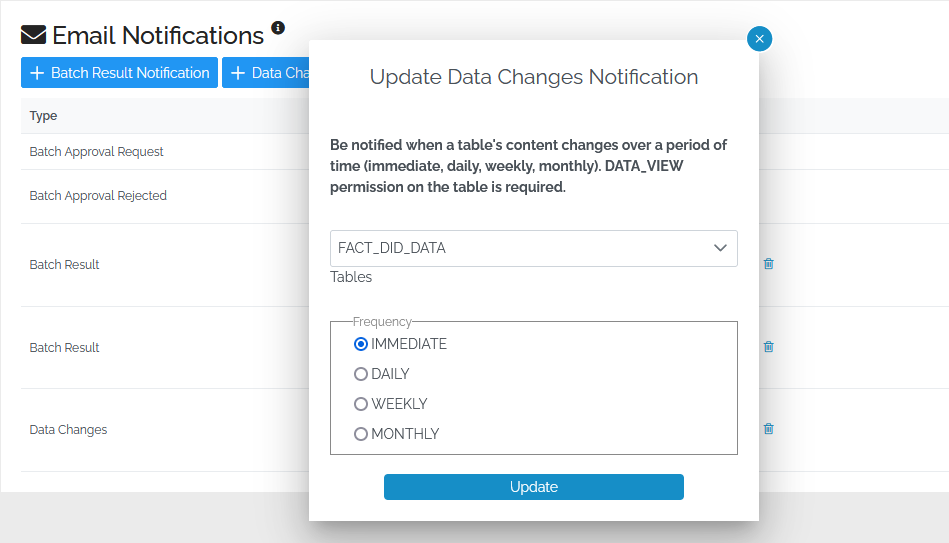
With the the Data Changes Notifications a user has the ability to to set up a notification via email about any data changes to a specific table.
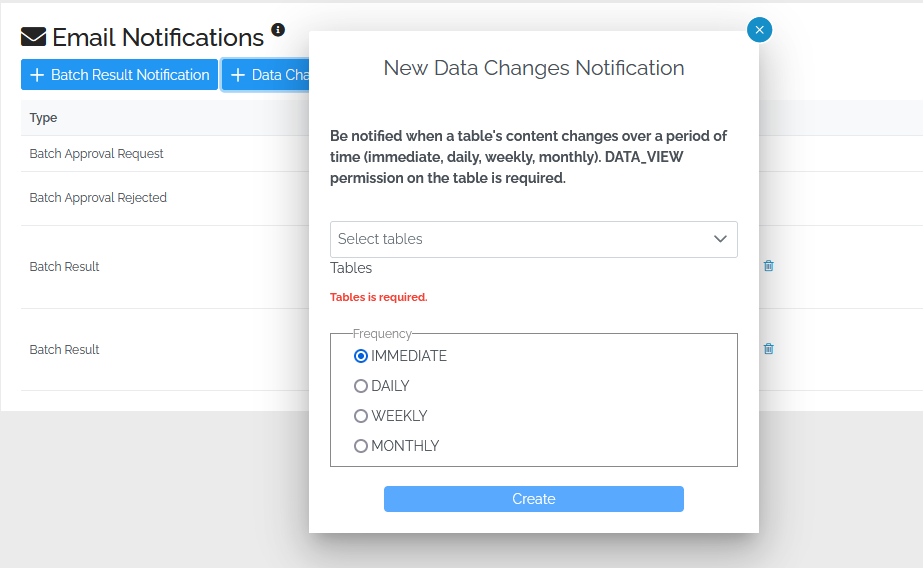
In order to set up a data change notification, you need first tocreate a new subscription.
Here is how:
- Click on +Data Change Notification
- Select the table for which you want to receive a notification
- Select the frequency of notification. The available options are:
- Immediate
- Daily
- Weekly
- Monthly
Keep in mind you may select only one table per notification. You may create multiple notifications, for other tables.
Let’s select FACT_BASKET and the Immediate delivery.
Click Create and your notification is created. You may click on the pencil icon to edit the notification at any time, or click on the bin to delete it
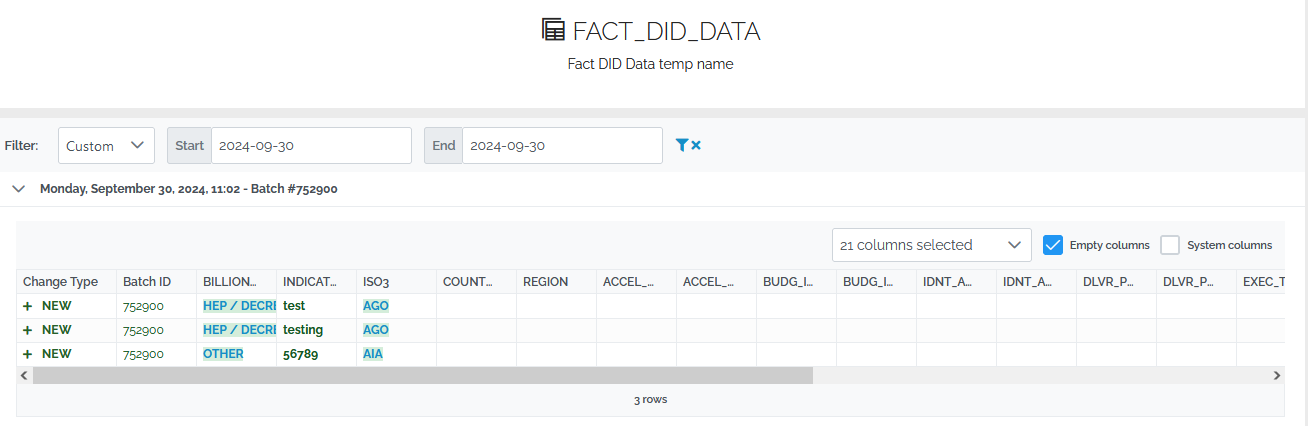
Below is a sample of the email you will receive after there is a data change in FACT_BASKET.

You may click on the View Changes and you will be redirected in xMart . An example of the landing page you’ll be redirected is below