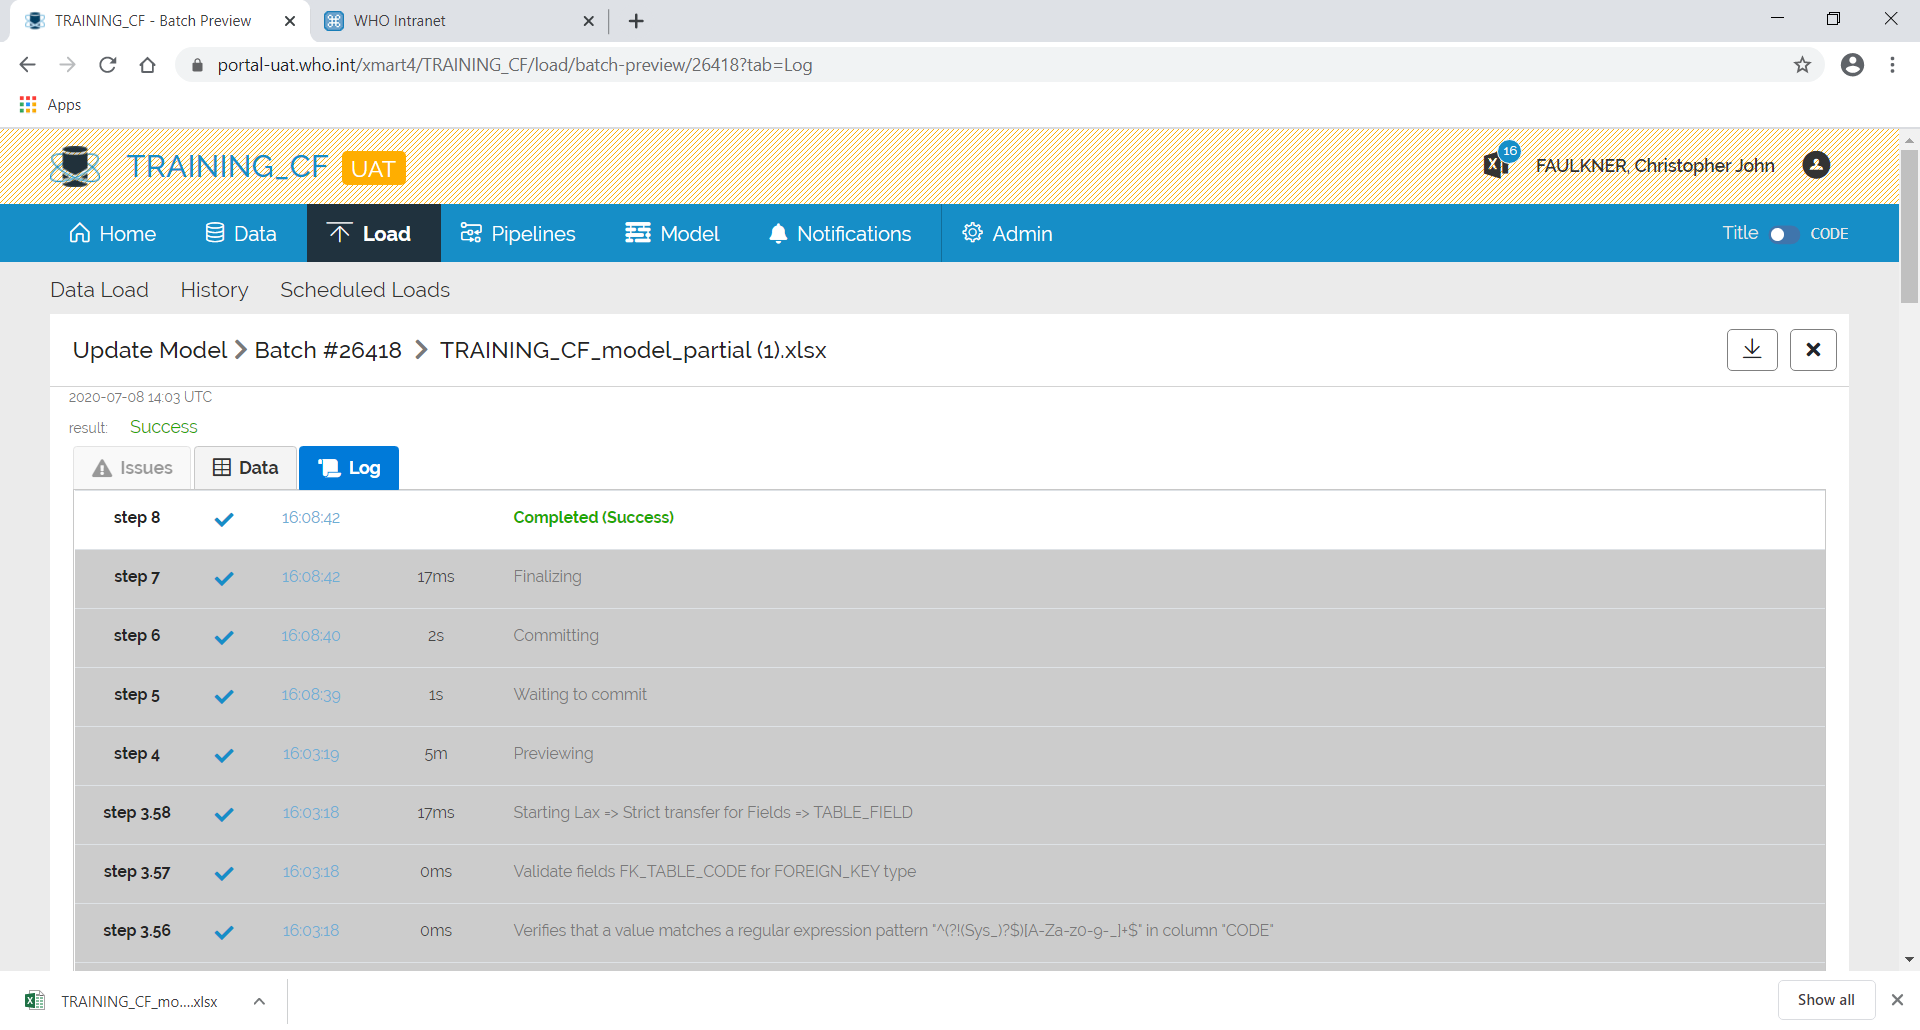
Navigate to the Mart.
Add/remove tables
Click on Model from the top menu and then Edit Model:
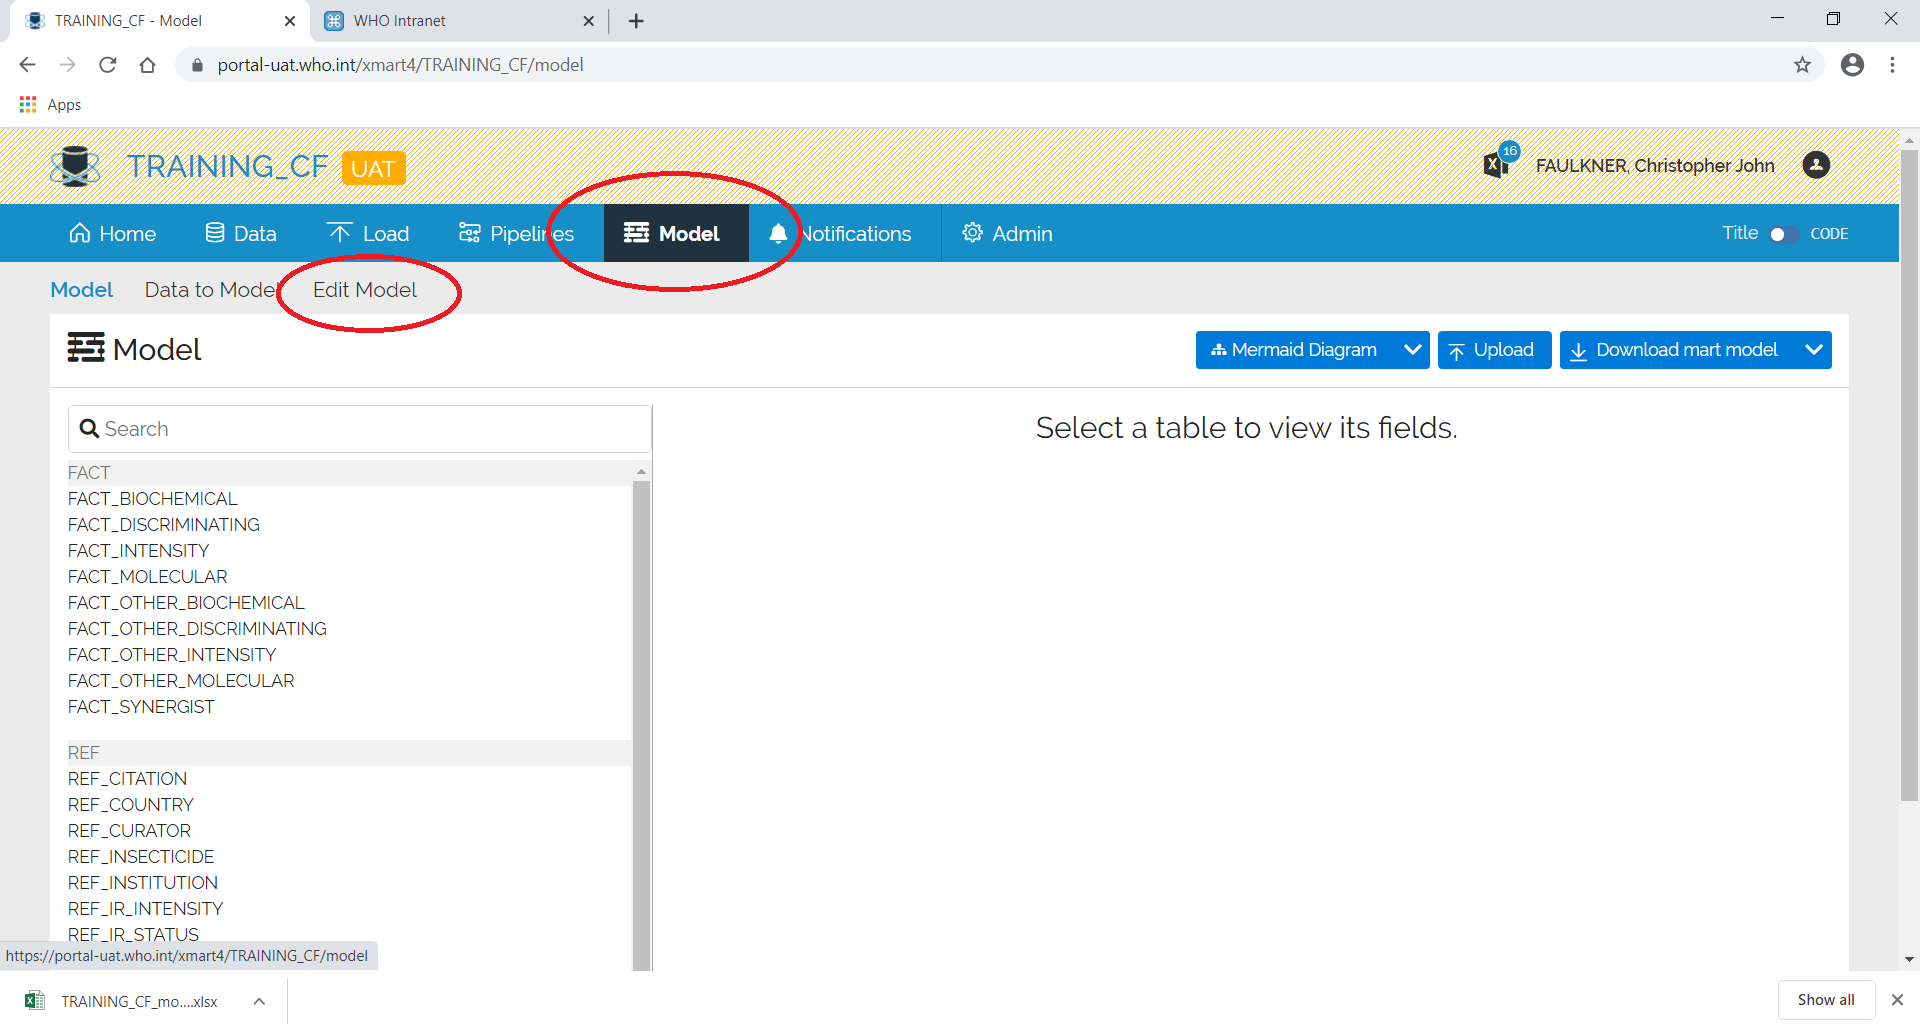
If not already visible, click on the Tables tab. If there is already a model, the tables should appear.
A new table can be added or you can change the name of an existing table.
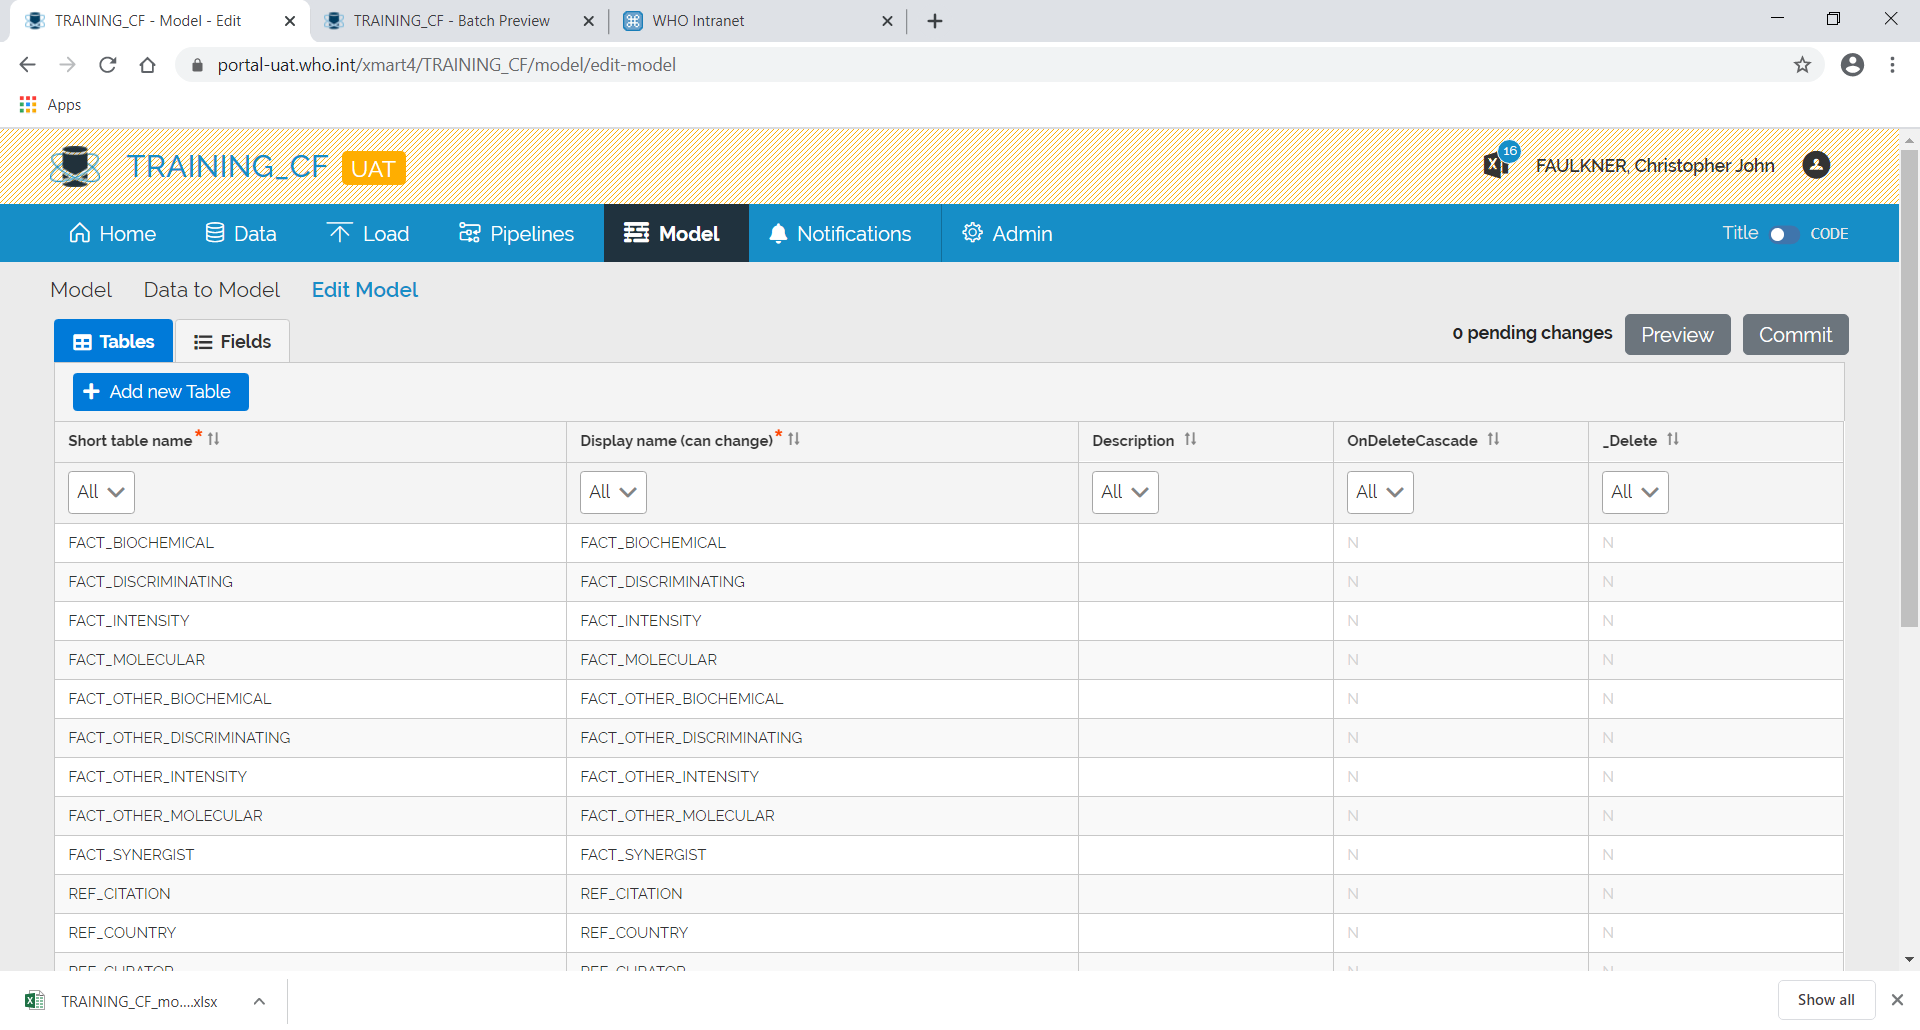
To remove a table, enter “Y” in the _Delete column.
Add/remove fields
Click on Model from the top menu and then Edit Model:

Click on the Fields tab:
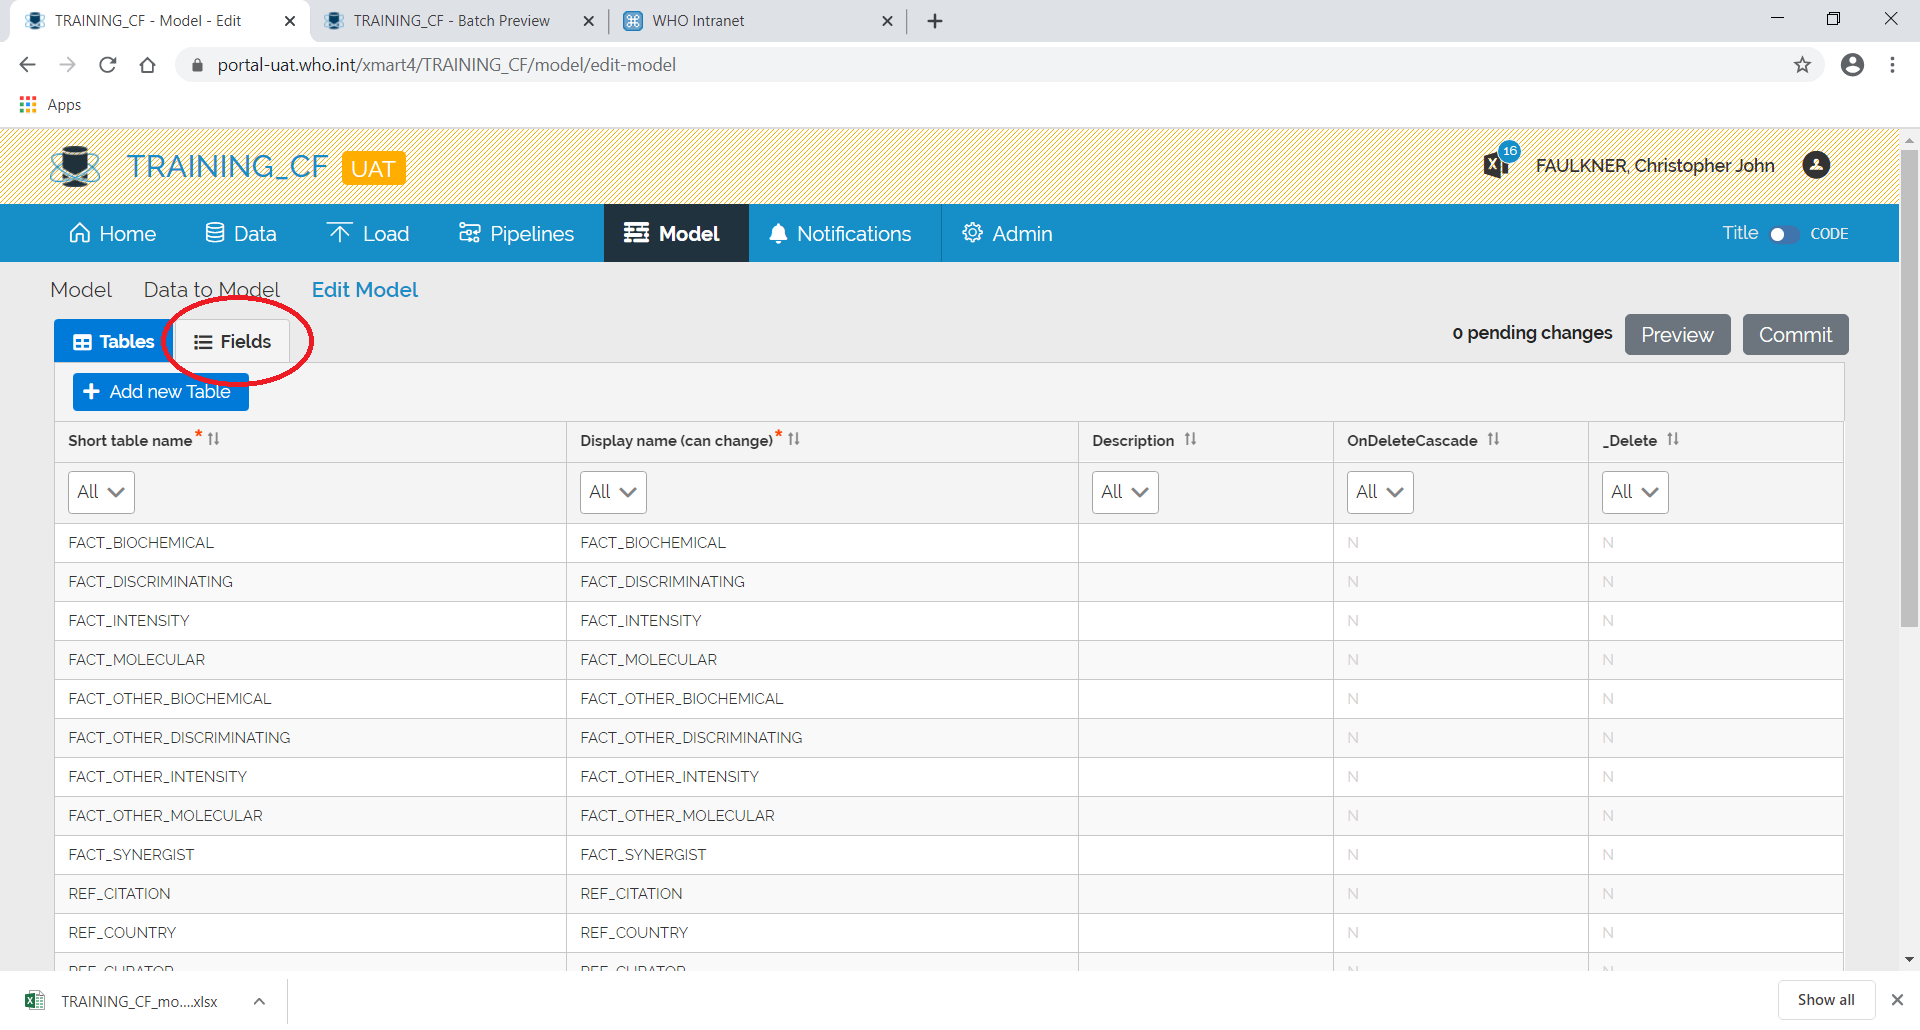
A list of fields and associated tables will appear.
To find the fields for a specific table, use the filter:
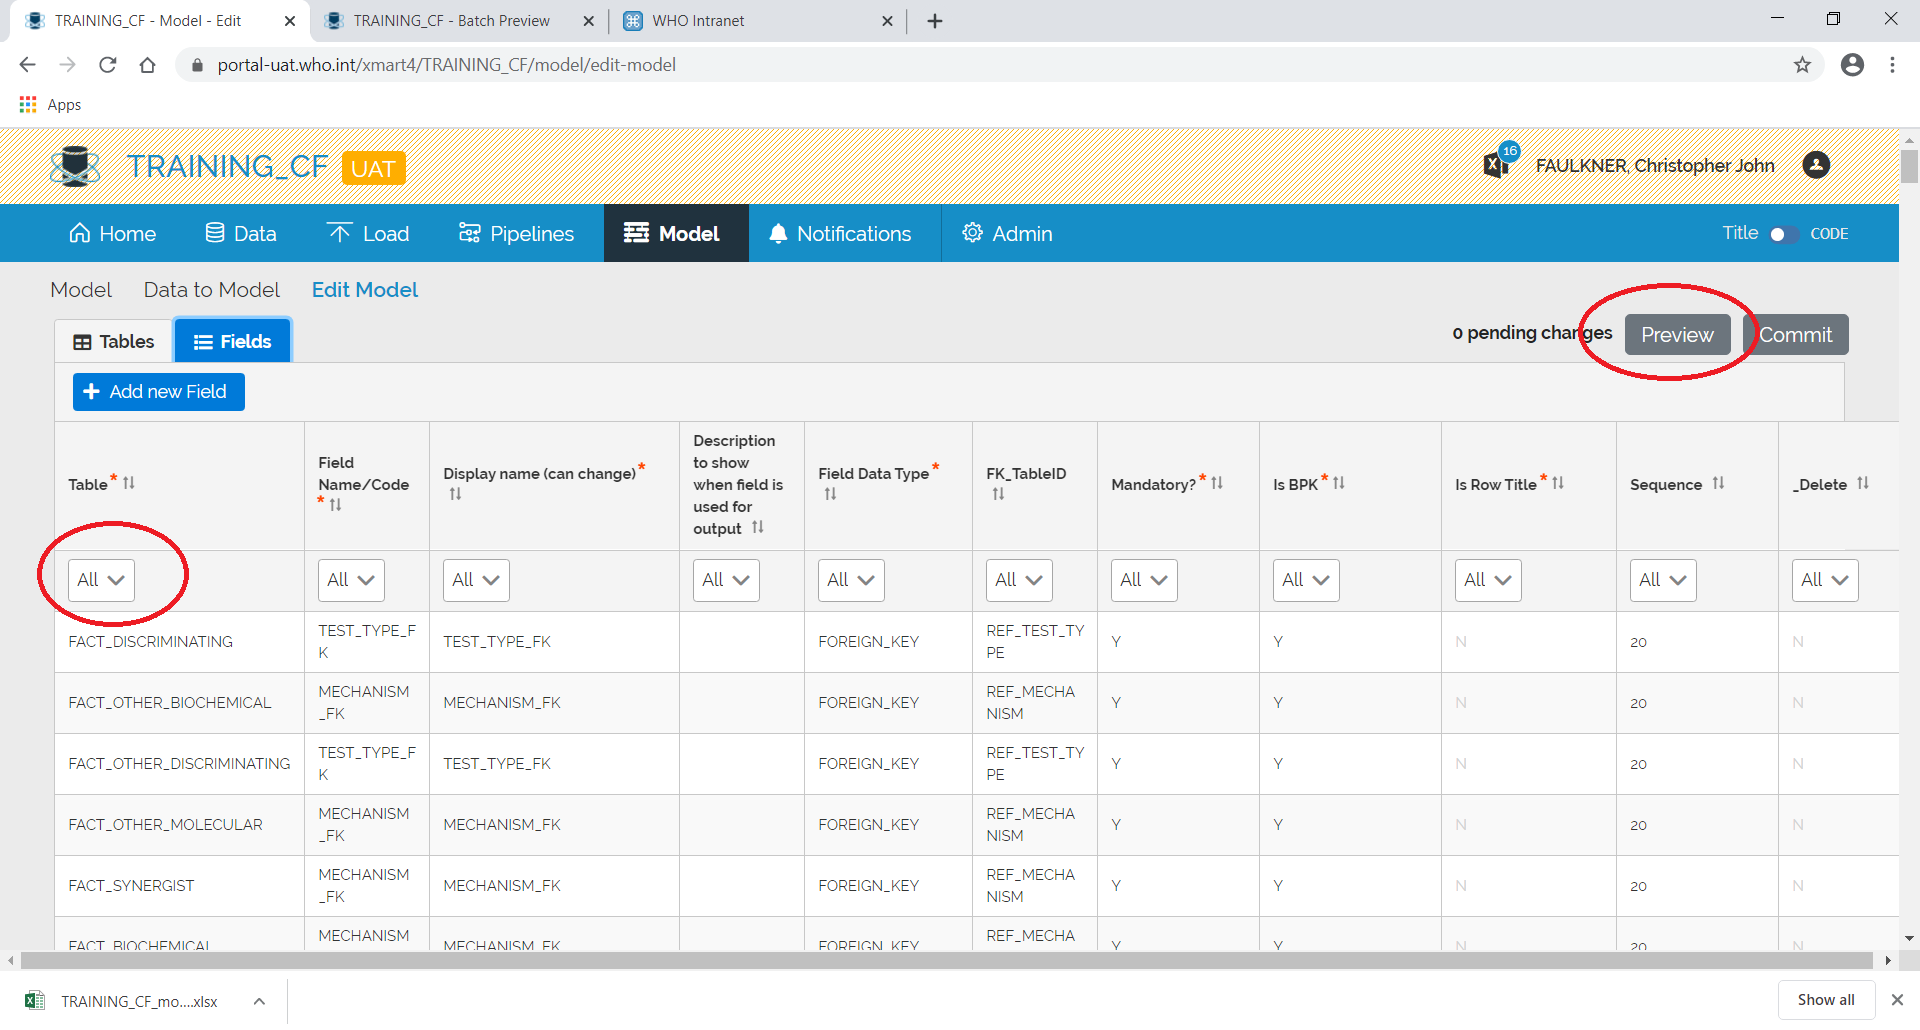
After making the changes, press Preview. A batch will start loading:
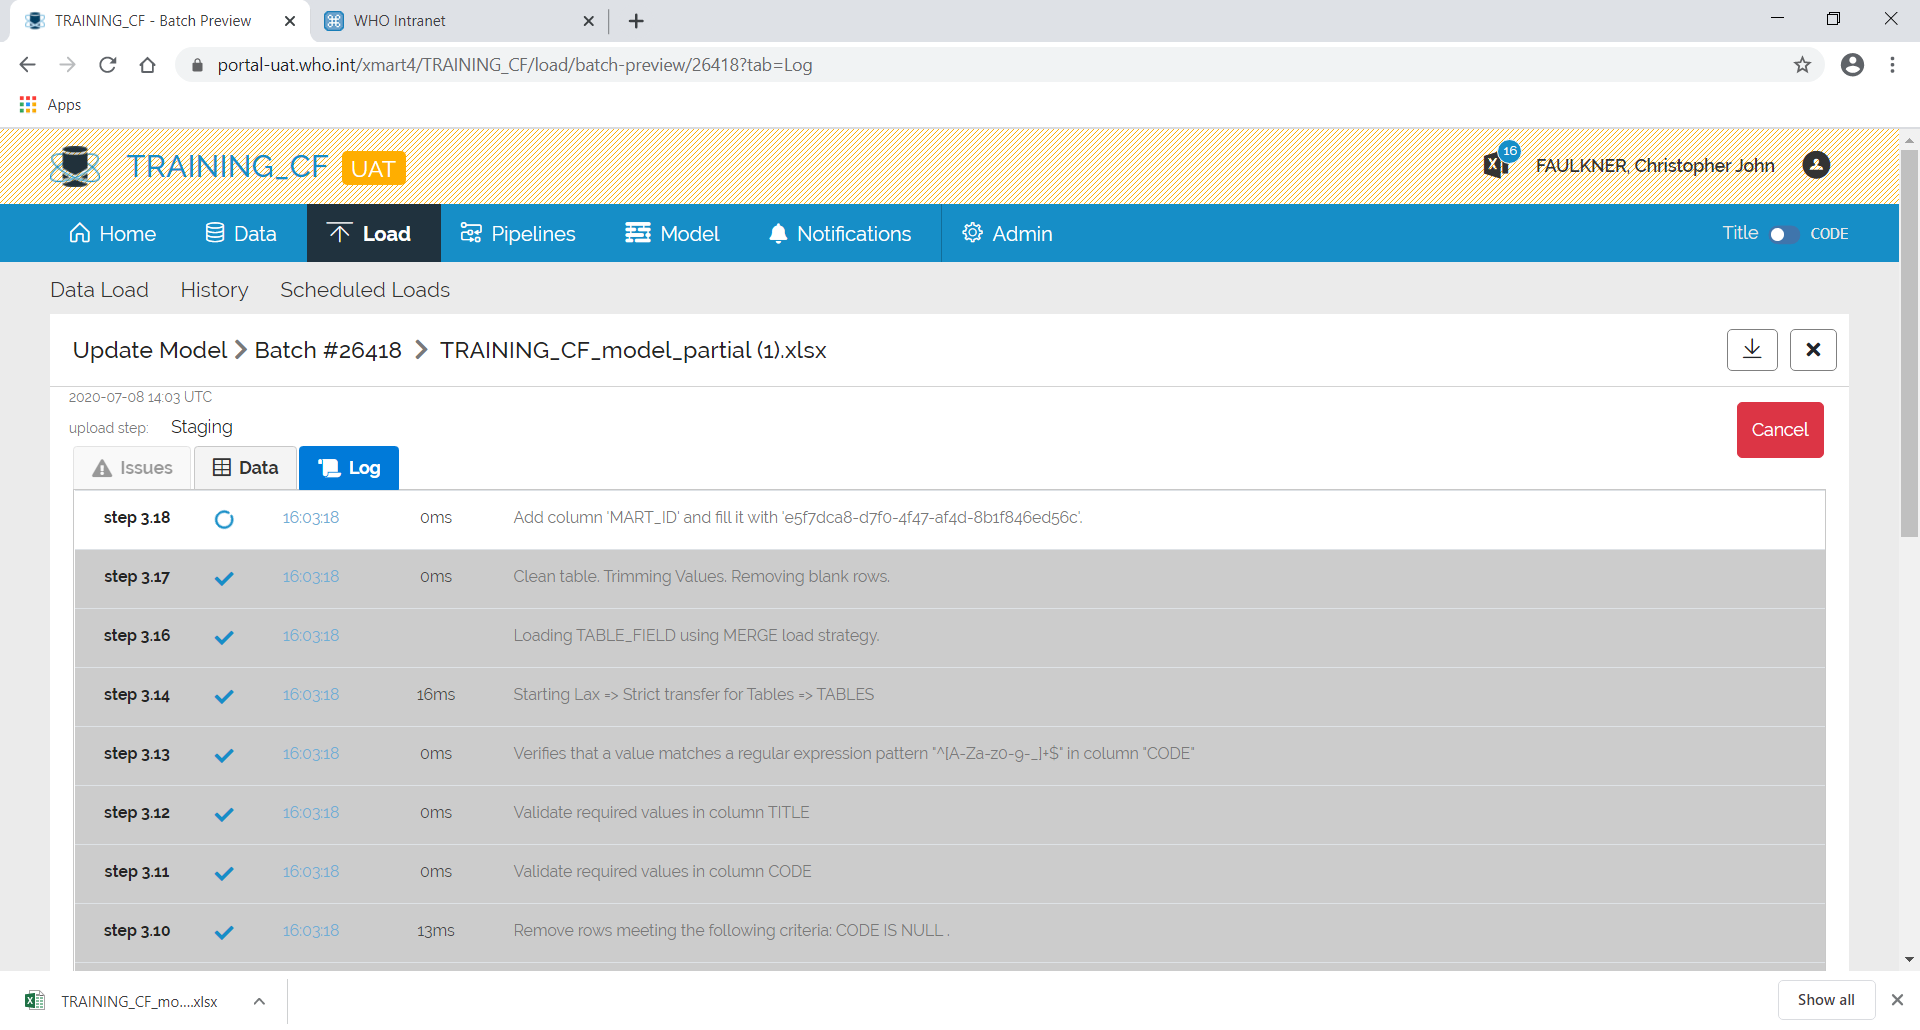
After which, a summary screen will appear showing any errors etc.
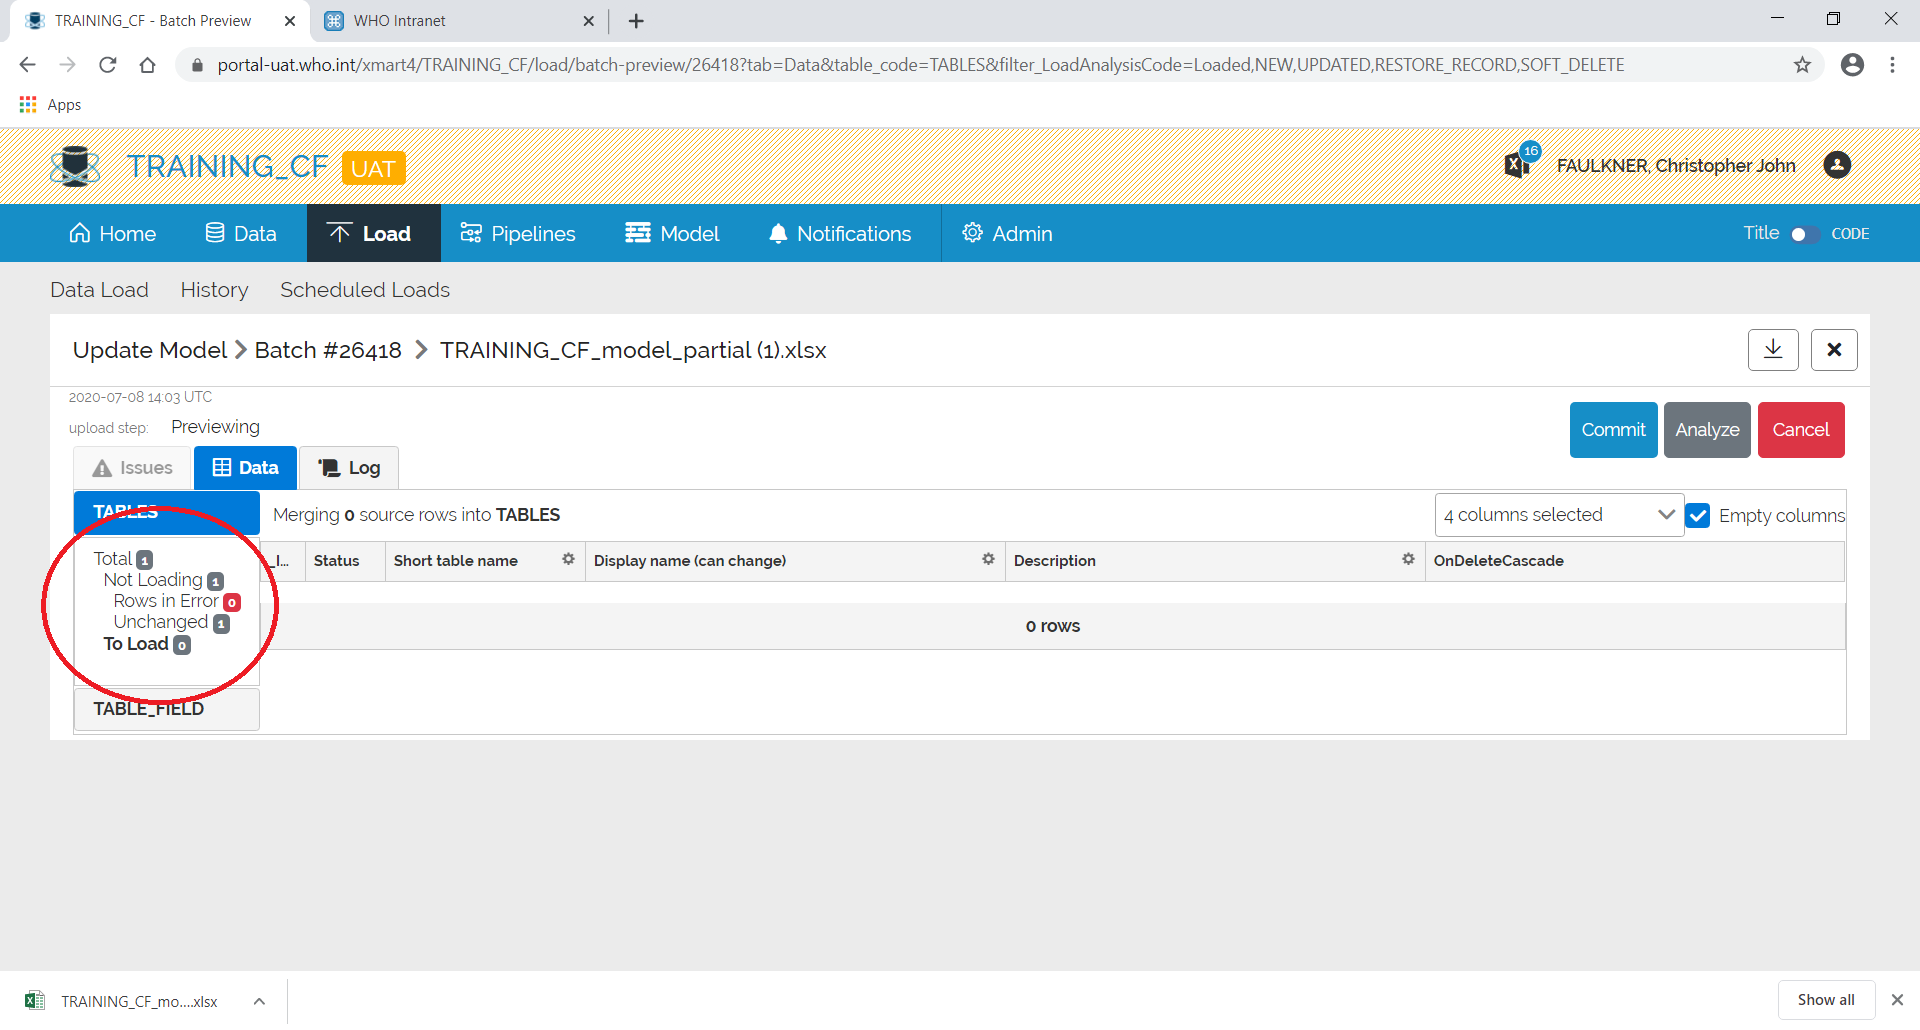
Any errors etc. can be seen by clicking on the relevant area on the left.
If you are happy with the results, click Commit otherwise click Cancel.
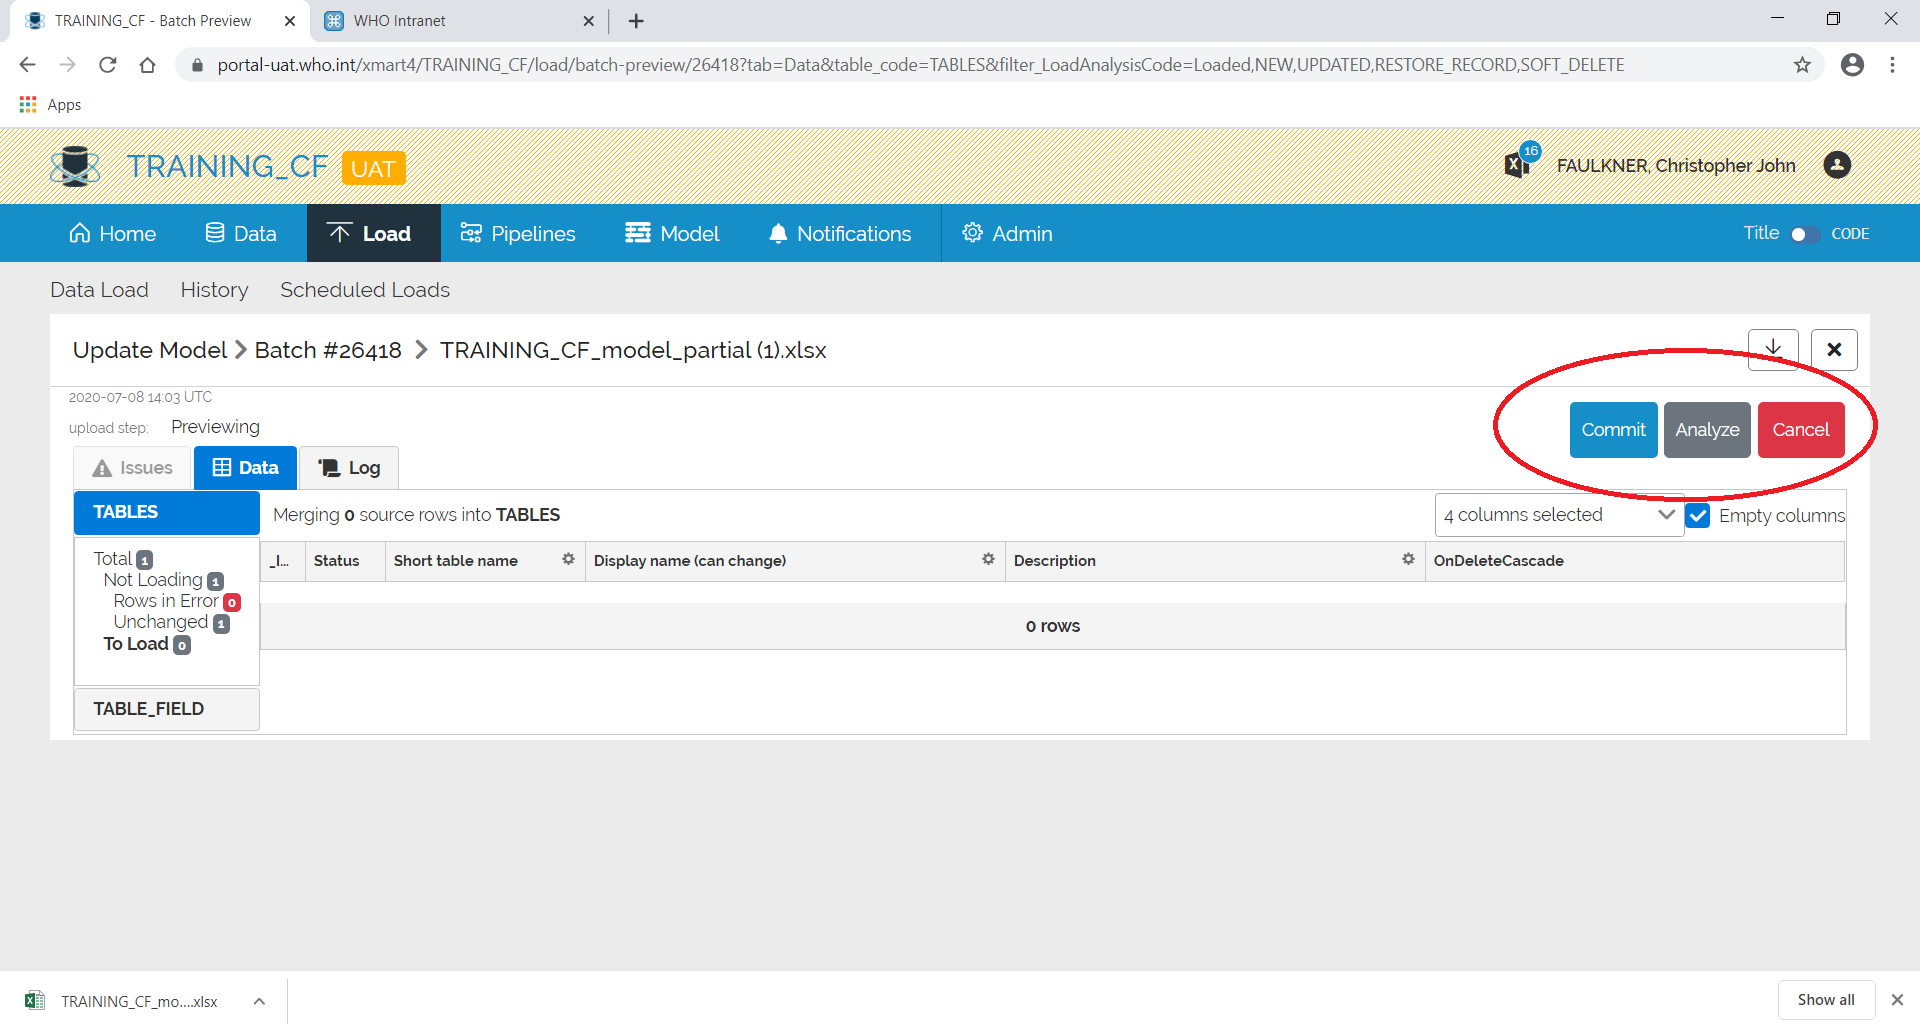
If you commit, the screen will change back to the batch and the batch will complete.
