What is a Pipeline?
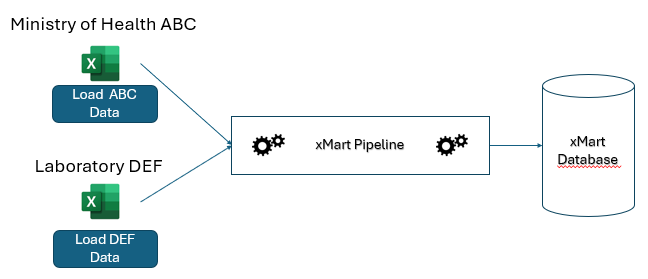
An xMart pipeline is a set of instructions to extract data from 1 or more data sources and load it into 1 or more tables in a mart. A pipeline can be manually run by a user or scheduled.
Note that pipelines are not typically used to create tables (but it is possible as an advanced feature) and this article assumes that your tables already exist. To learn how to create tables see the how to create tables article.
There are 2 kinds of pipelines, “normal” and “flow”.
What is a “normal” pipeline?
A “Normal” pipeline processes data from 1 or more sources as a single batch and loads that data into 1 or more tables. Each batch has an ID and every data record of every table that is loaded by that batch is linked to a specific batch ID.
The primary responsibility of a normal pipeline is to reformat extracted data to match the structure of the destination/target tables in the mart. It is not necessary to program the details of the upload, ie how to determine which records are new or which are updated. As long as the structure of the incoming data is made to match the structure of the destination tables, the system will take care of the rest.
In addition, a normal pipeline can also:
- Define the modifiable range of data in target tables using “data scope”
- Validate data (although it is best to assign validation rules to tables)
- Define approval workflow
- Launch “post run” actions when the pipeline has finished, such as launch more pipelines or call web services. The post run section of a normal pipeline is actually the same as a “flow” pipeline.
What is a “flow” pipeline?
“Flow” pipelines, introduced in version 4.29, ochestrate multi-step data flow by launching one or more normal or flow pipelines (nested flows). Multiple batches are produced (1 for each pipeline called) and they are all grouped together as part of a single flow batch. The overall status of a flow batch is the aggregate status across all batches created by the flow. The pipelines which run in each flow can be configured to run in sequence or in parallel (default).
In addition to running pipelines, it is also possible to call web services in a flow pipeline. This can facilitate interactions with external applications, for example, to let them know that new data is ready in xMart.
A flow pipeline essentially encapsulates multiple pipelines into a single group to make it easier to monitor and track on the batch preview page.
Common to all pipelines
All pipelines, whether Normal or Flow:
- Always have one or more origins
- Support variables
- Require PIPELINE_MANAGE permission to create or edit. This can be granted by a Mart Admin.
- Can be scheduled
- Can be triggered by an API call
What is an Origin?
An “origin” represents a particular set of data from a particular data provider. Data provider in this case means which real-world entity (organization, institution, department, etc.) is providing data to the pipeline. Examples of what an origin may represent:
- a specific excel workbook format from a specific partner organization
- a specific remote web service hosted by a particular country office
In essence, an origin is a simple set of configuration fields which include the code, title and description of the origin. When a new pipeline is created, a default origin is created which can be edited at any time. Additional origins can be created and edited at any time.
Origins are important because they can be used to customize behaviors of the pipeline:
- Each origin has its own button that appears on the load page. The origin code or title (depending upon the setting of the code/title switch in the UI) is the text of the button. It can be customized for different data providers and languages. Chinese users may only be given the option to load Chinese language Excel files, Spanish users, only Spanish files, English users, only English files and so on.
- An origin can be limited to a specific set of users by defining the LOAD_ORIGIN permission in a security role.
- Nearly every command in a pipeline can be turned on or off by origin or list of origins. This allows a pipeline to be customized by origin to adapt to relatively minor differences between origin data sources.
- The value of pipeline variables can be defined per origin. Combined with Data Scope , this is an effective way to guarantee that each origin only modifies its own rows in a table that is shared by multiple origins.
Here is an example. A regional data manager distributes a single, standard Excel template file to be filled in by different countries.
The data manager creates a single pipeline because it’s a single, standard Excel template file. But the data manager creates 1 origin per country (or perhaps some countries can share an origin). When the country data loader user opens the data load page, they will see a button customized for them.
Perhaps requirements in one country require adding a column to the template which will not be present in any other country. Any pipeline commands that refer to this exceptional column can be flagged as only relevant for this particular origin. All other origins will ignore that column.
So small differences in column names, date formats etc. can be managed using origins. This is done in the pipeline by tagging commands for specific origins. Or each Excel may be in a different language so the column names may be different. Column mappings can refer to specific origins.
Origin specific commands
Commands can be applied to some origins only.
Origins can be specified in all commands that support the Origins attribute (Getters, Tranforms, LoadTable, …).
The Origins attribute should be filled with a comma separated list of existing origin codes.
It is also possible to excluede particular origins for which a command applies by prefixing an origin code with “!”.
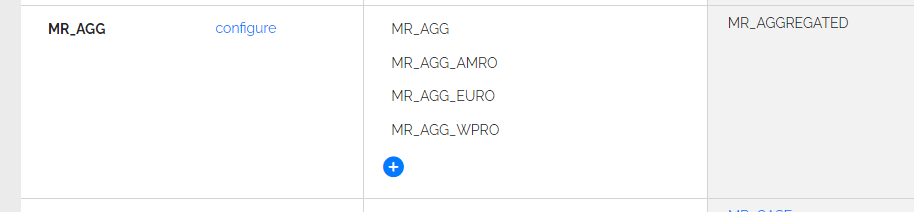
Origin specific example
<Extract>
  <GetWebService Url="http://url_for_euro" TableName="data" Origins="MG_AGG_EURO">...</GetWebService>
  <GetWebService Url="http://url_for_afro" TableName="data" Origins="MG_AGG_AFRO">...</GetWebService>
</Extract>
<LoadTable SourceTable="data" TargetTable="REF_COLORS" LoadStrategy="MERGE" Origins="MG_AGG_AFRO, MG_AGG_EURO">
  <Transform>
    <AddColumn Name="Column1" FillWith="applies for all origin"  />
    <AddColumn Name="Column2" FillWith="only for this one origin" Origins="MG_AGG_AFRO" />
    <AddColumn Name="Column3" FillWith="not for this" Origins="!MG_AGG_EURO" />
  </Transform>
How do I create a Pipeline?
PIPELINE_MANAGE permission is required to create or edit a pipeline. This can be granted by a Mart Admin.
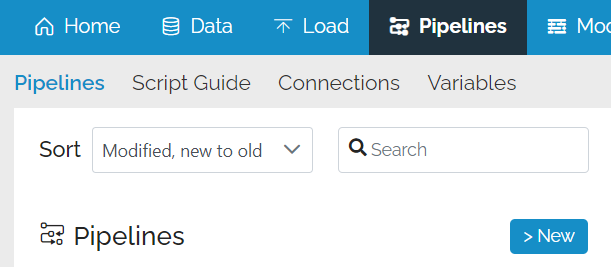
To create a pipeline, go to the pipelines menu and click New
This will open a pop-up window asking you for some basic info about the pipeline.
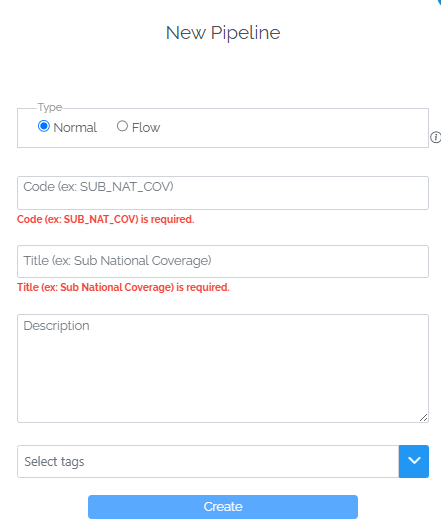
Type (mandatory), either Normal or Flow.
Code (mandatory), the code which is used to identify the pipeline and the default origin. Also what data loaders will see on the load button if they switch the view to the Code mode in the top right corner.
Title (mandatory), the user friendly title which data loaders will see on the load button if they switch the view to the Title mode in the top right corner. It must be at least 3 characters long.
Description (optional), describes the view in more detail and available to data loaders as a tooltip when hovering over the load button.
Tags (optional), used to categorize pipelines.
After you have filled these fields, click Create
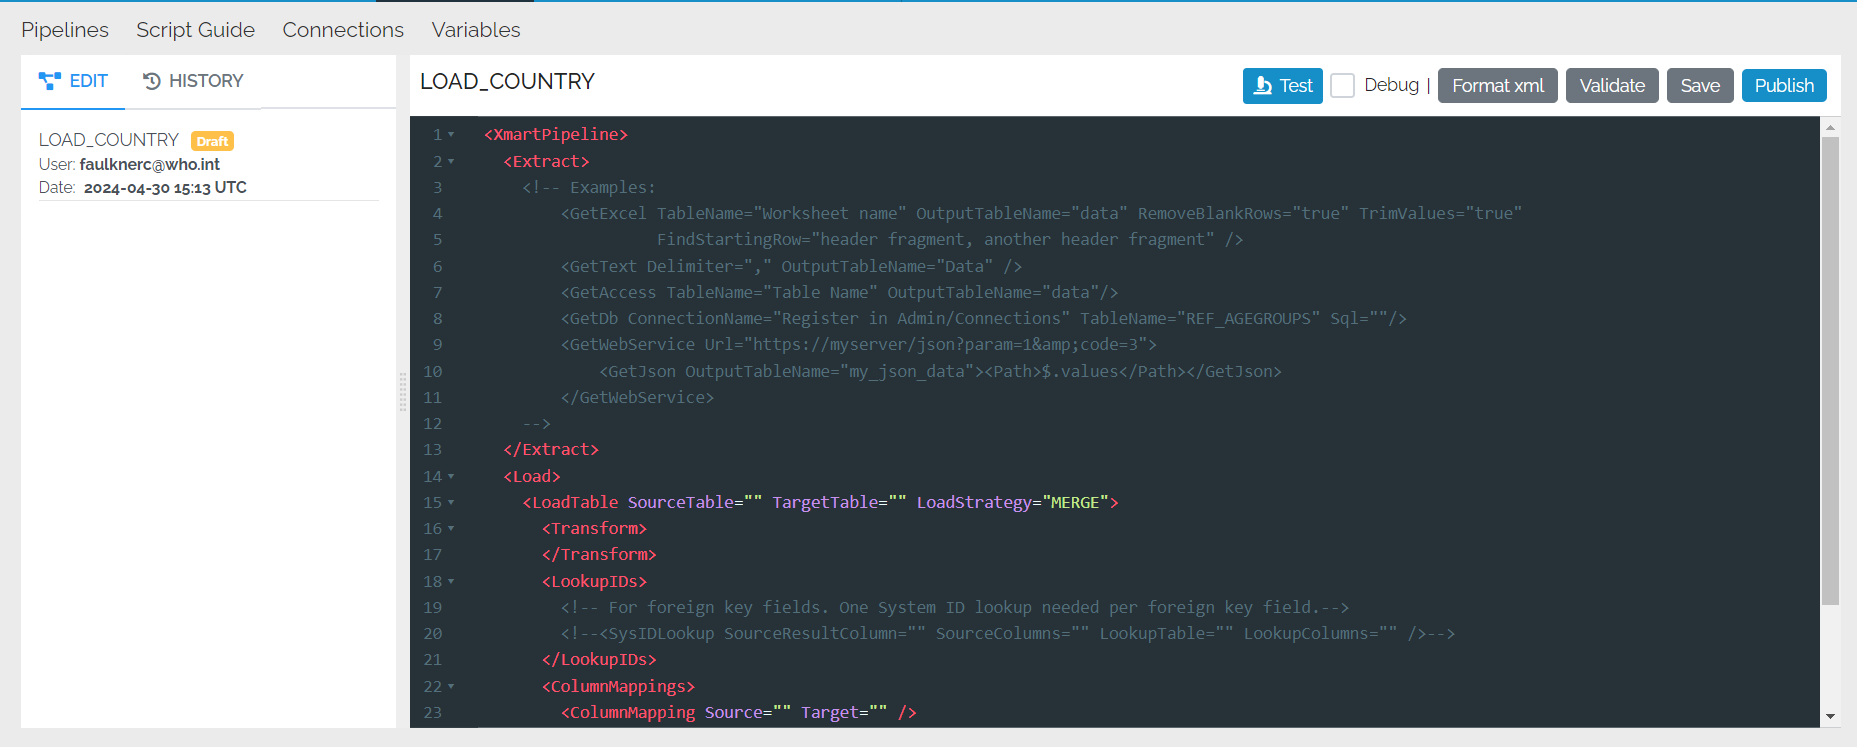
This will bring up an empty pipeline template, either for a normal pipeline or a flow pipeline. This one is for a normal pipeline:
Basic pipeline editor features
Some basic features of the pipeline editor are the same regardless of whether you are creating a normal or a flow pipeline:
XML
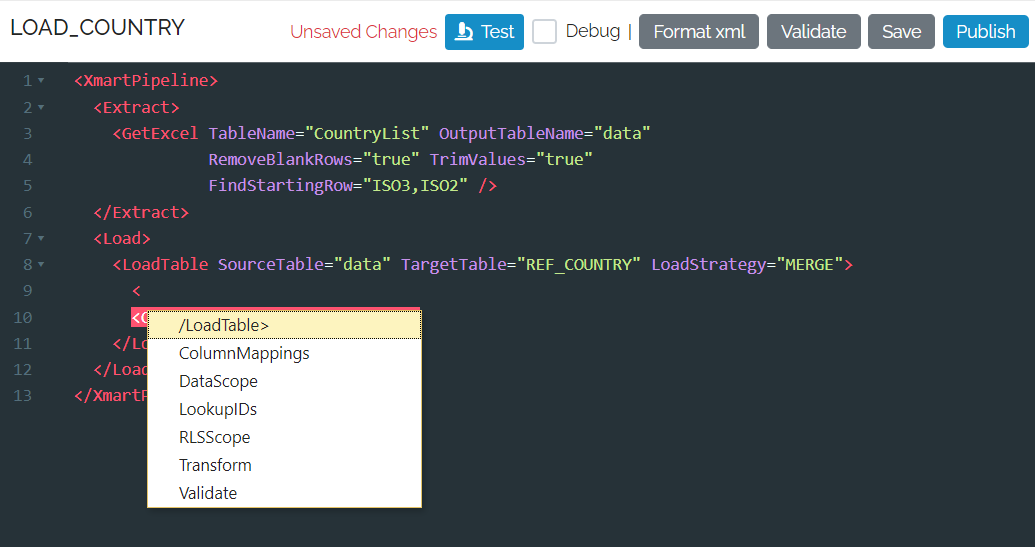
You type xml into the editor which requires starting any command by the “<” character, but fear not! Wherever you are, a selectable list of valid commands is shown:
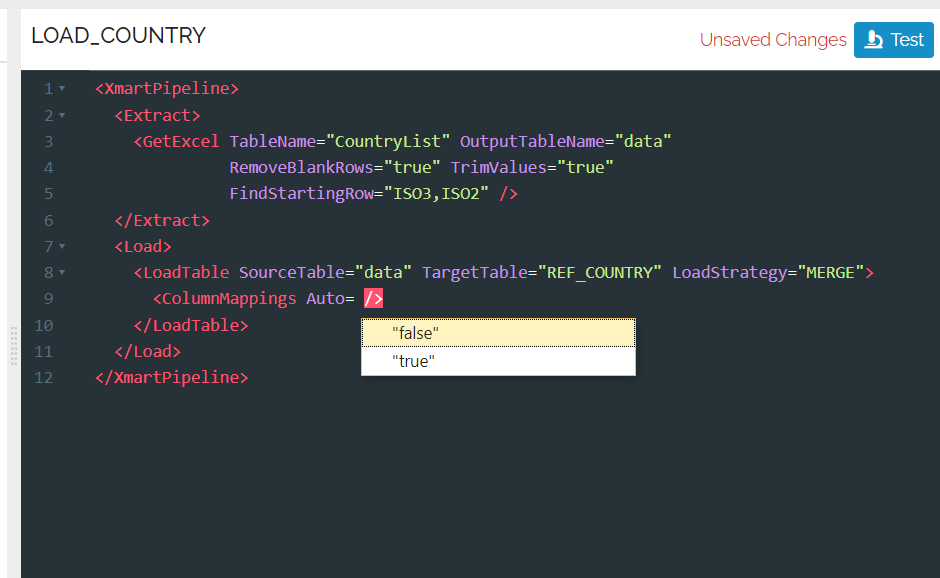
As you enter the settings for a command, it gives you options if the list is limited
If the list of possible commands or options disappears for some reason, pressing ctrl-space will bring it back.
Formatting XML
Press the Format Xml button to automatically format the Xml, ie line up all the open and closing tags, etc.
Full Screen mode
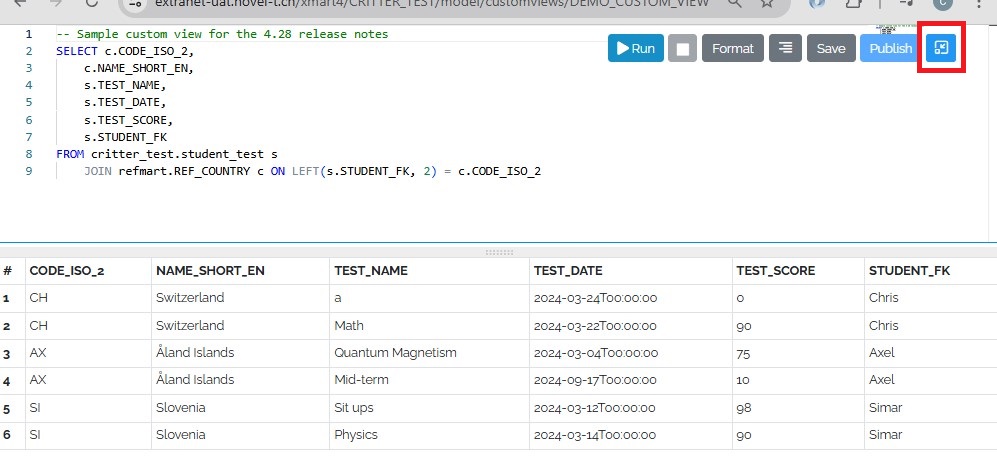
Go into full screen mode by pressing the button in the top-left of the editor.
The editor can be opened in full-screen mode using the Maximize button. Use the same button to restore the normal view.
Command UI
If you ctrl-click anywhere inside a command a UI panel appears for that command.
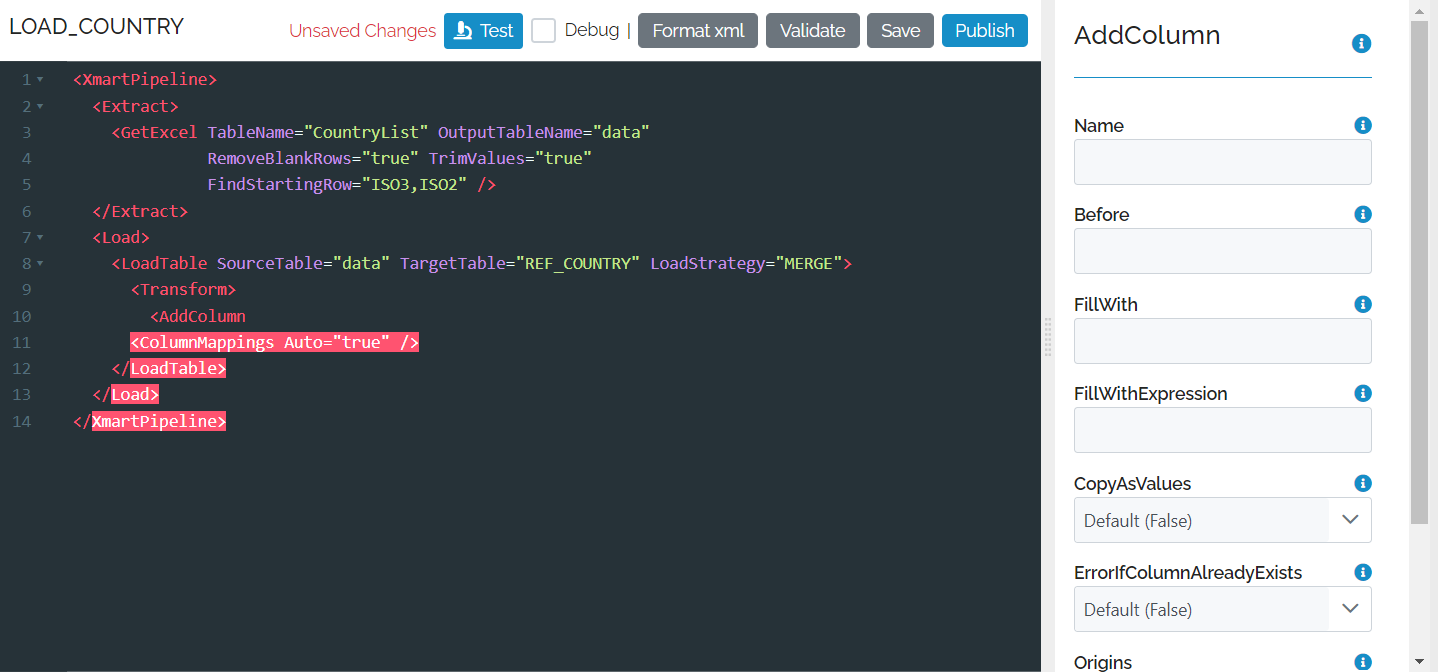
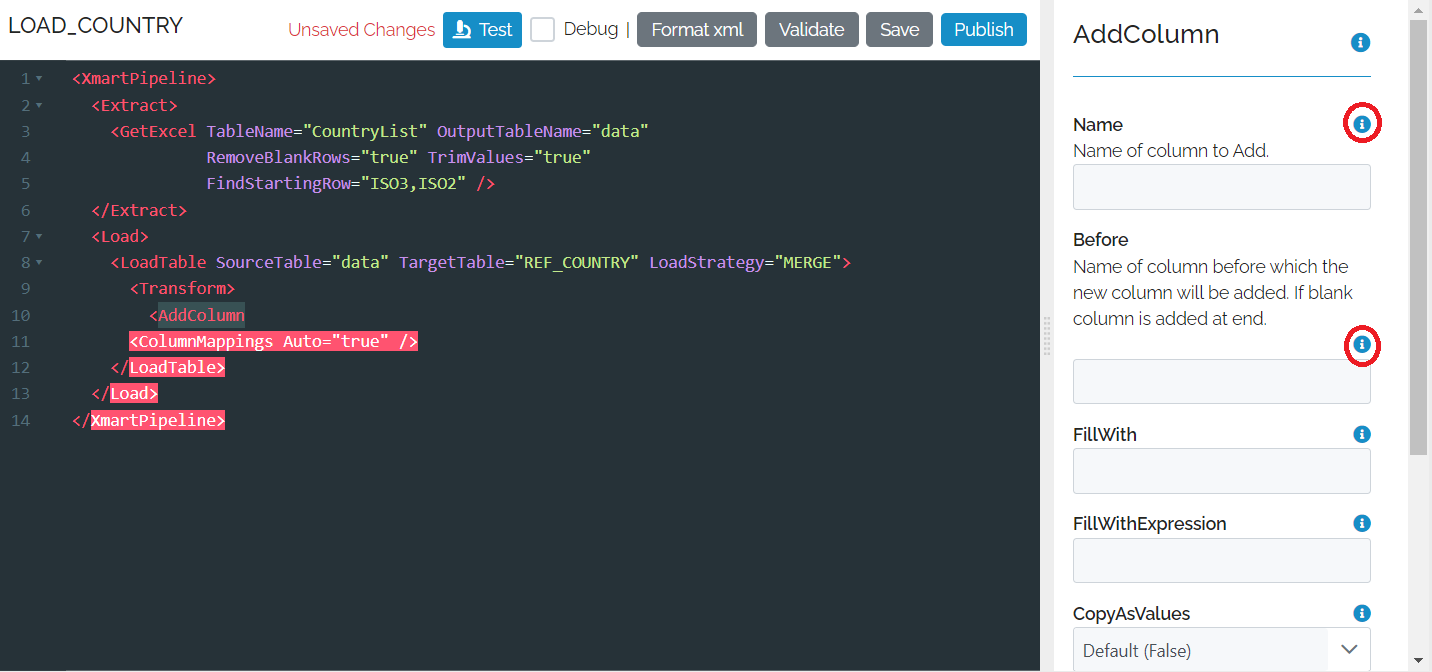
You can get help on an individual field by click on the blue information icon.
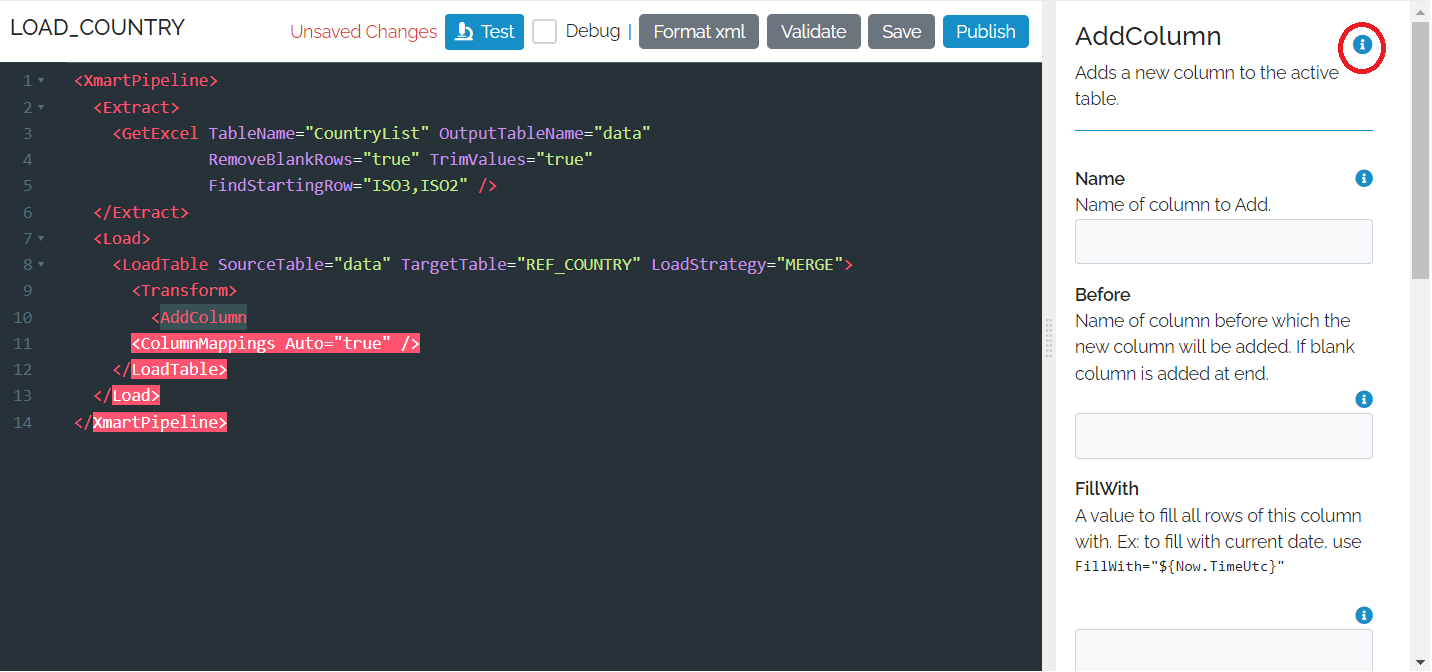
If you want details of all of the settings, you can click on the information icon next to the command.
The command UI panel is especially useful when you need to paste characters that are special in Xml, like anything with the “<” or “>” characters. You can just paste these special characters in the command UI as-is. If you type them in xml, you would have to enter their character entities, “>” and “<”.
Settings
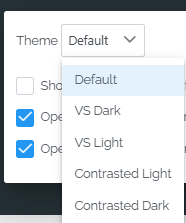
Changing a few settings can improve the usability of the editor.
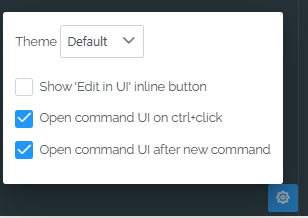
This includes changing the visual theme
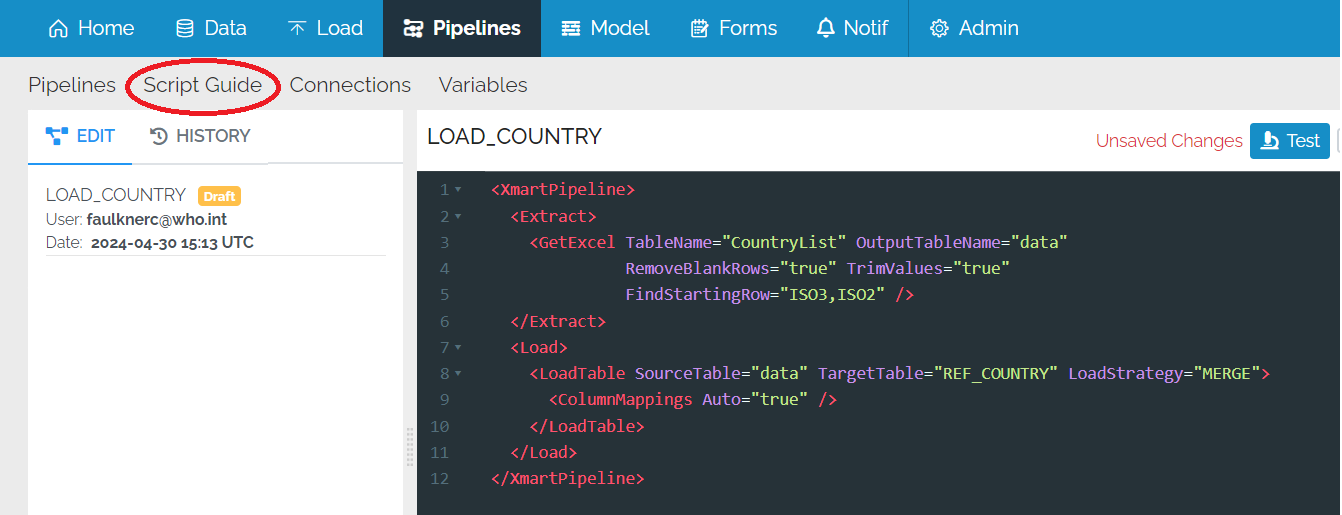
Pipeline script guide
Every pipeline command (for normal and flow pipelines) is documented in a comprehensive manner in the pipeline script guide. For the Transform commands (normal pipelines), many before-after examples are available. However, the script guide is not very useful for understanding the overall structure of a pipeline. This is best described (TO DO).
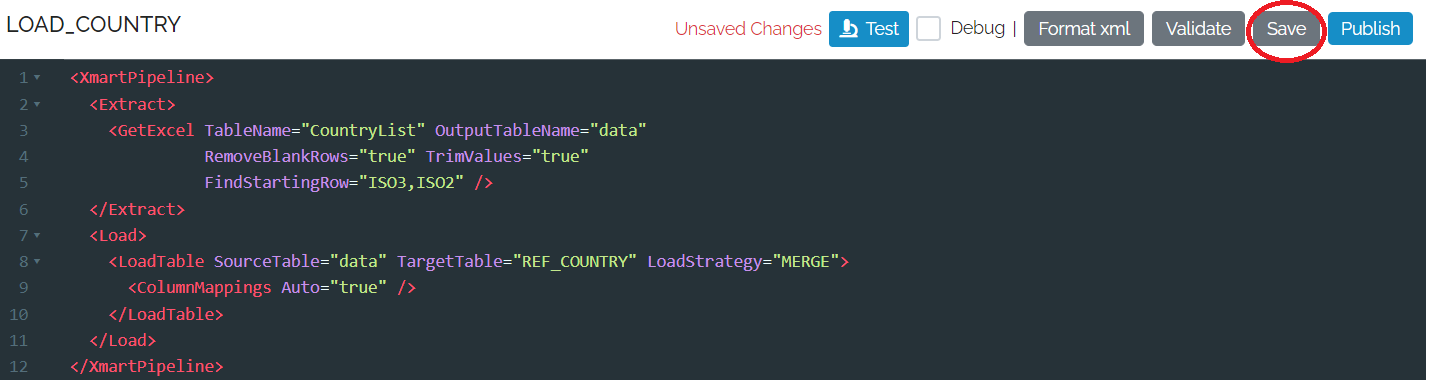
Saving a pipeline
If you are editing a pipeline and you haven’t finished you can save the pipeline as a “draft”. Draft pipelines do not need to be valid.
Validating a pipeline
A pipeline needs to be validated before it can be Tested or Published.
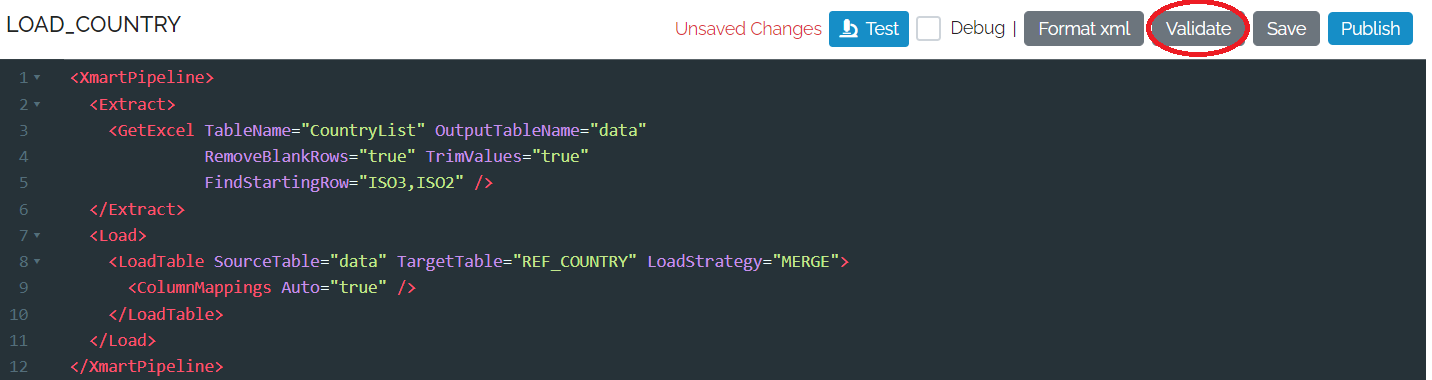
If there are any errors, any line with an error is marked with a red circle and the error message appears on the left of the pipeline.
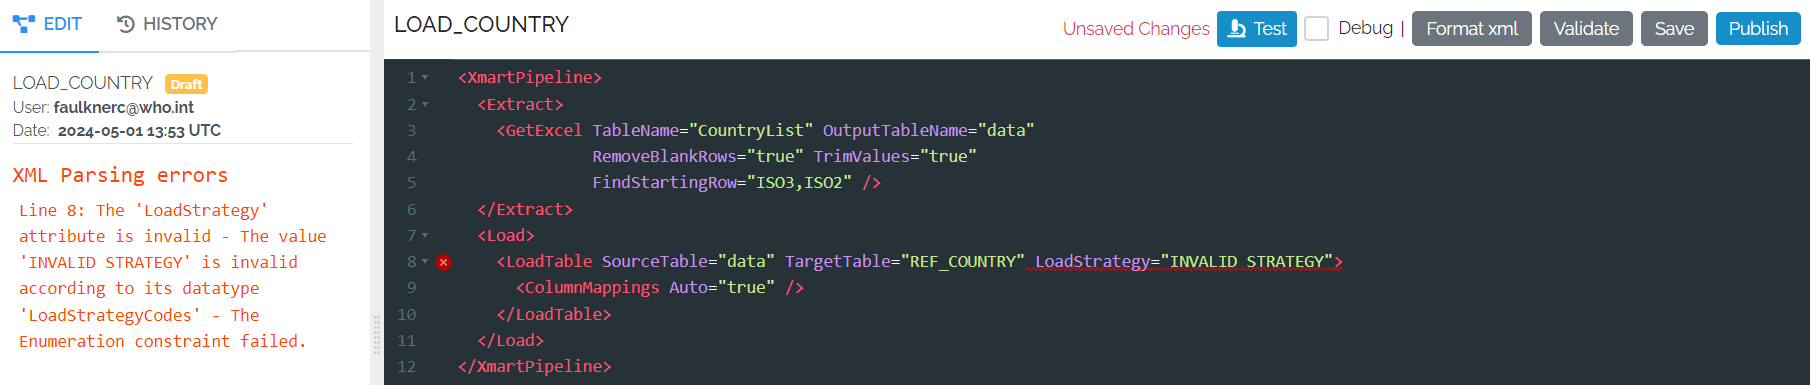
If you don’t Validate it yourself, the system will do it automatically when you try to Test or Publish.
Testing and debugging a pipeline
After the pipeline has been validated, it can be tested and debugged.
Normal pipelines that produce 1 single batch can be debugged, which means that you can run the pipeline one step at a time and see what the data looks like at each step.
A dedicated article on testing and debugging is available.
After the pipeline has been tested, it can be published.
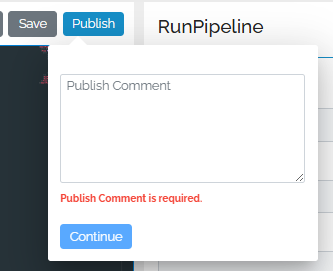
Publishing a pipeline
When you are happy with the pipeline, you can publish it, which makes it available for use on the load page. Press the Publish button to do that. The system requires a small comment each time you publish so that when viewing the pipeline history later there is a short description of each published version.
Pipeline history
Every time a pipeline is published, a new version is created. The vesion history of a pipeline is available via the History tab on the pipeline source code page:
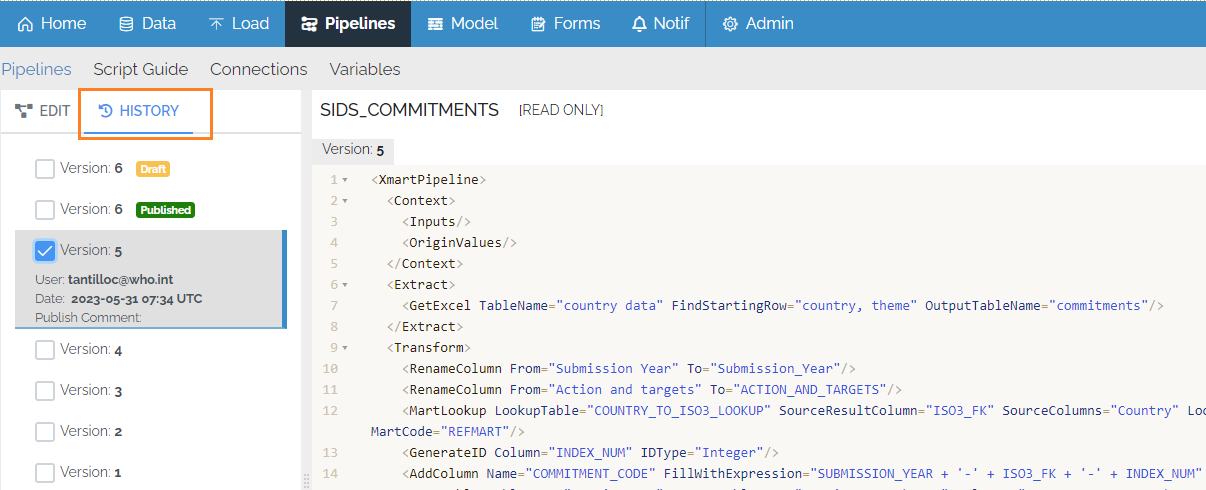
It is possible to view past versions of a pipeline, including who edited them and when. Pipeline source code from a past version can be copied and pasted into the current pipeline editor.
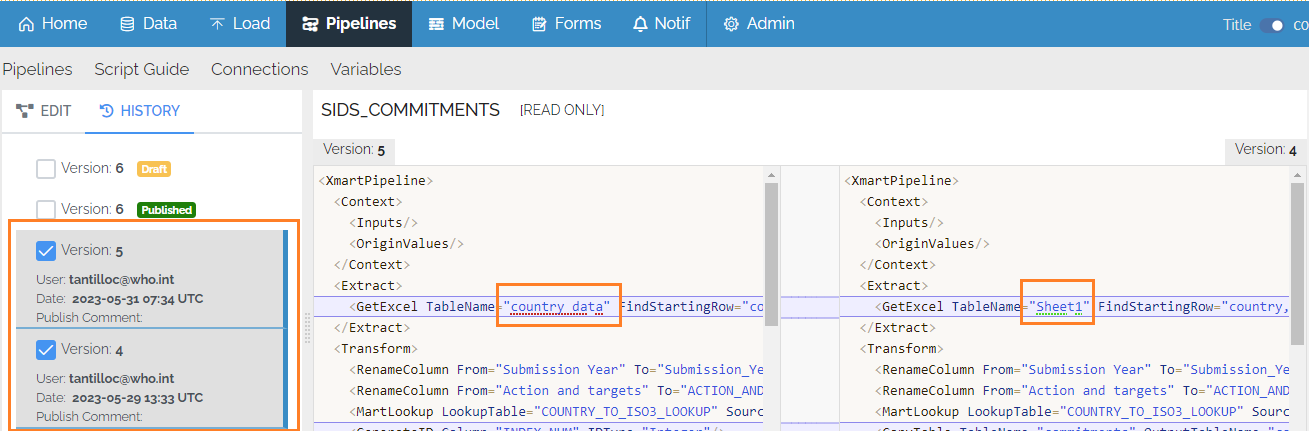
You can also compare any 2 versions by selecting 2 checkboxes. Differences between the versions are graphically highlighted. The latest version of the pipeline is always on the left.
During iterative development of a pipeline, to avoid the creation of many versions of a pipeline, it is recommended to use the Test button instead of the Publish button in order to test a pipeline. The Test button performs all processing up to the point of the final commit, including the batch preview, so you should be able to fully test a pipeline and preview its results without having to publish at each iteration. This makes the version history more meaningful.
What next?
Learn more about