When creating a pipeline you can add an approval process for any attempt to load data.
Pipeline
In order to set up an Approval, you use the following syntax
 <Approvals TimeoutInDays="5" StatusIfTimeout="REJECTED">
    <Step RoleName="Initial Admin" Message="Please approve this data submission." />
  </Approvals>
This command is made up of two parts; the outer Approvals element and then one or more Step commands within the Approvals. If one Step is passed, the next Step is executed. So if, for example, there is data which needs to be approved by the Country first, then the Region, then the HQ. Steps order will be used to request approval from the first Step, then the next if previous is approved. Any rejection won’t trigger the following Steps.
Approvals
| Property | Description | Optional? |
|---|---|---|
| TimeoutInDays | How long the user has to approve the timeout | Optional |
| StatusIfTimeout | Can be set to either APPROVED (which is the default) or REJECTED | Optional |
Step
| Property | Description | Optional? |
|---|---|---|
| RoleName | The role whose members will be notified | Mandatory |
| Message | The message that will be displayed to the approvers when they go to the batch | Optional |
| Mode | Can be either CHANGES_ONLY (Default) or ALWAYS | Optional |
| Origins | The Origin or a comma separated list of Origins to which the Step should be applied | Optional |
Roles
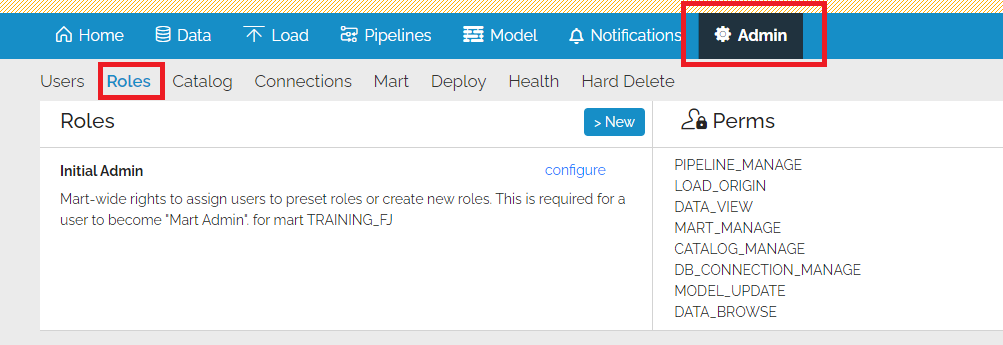
To see which RoleName is available go to Admin > Roles.

Approval process
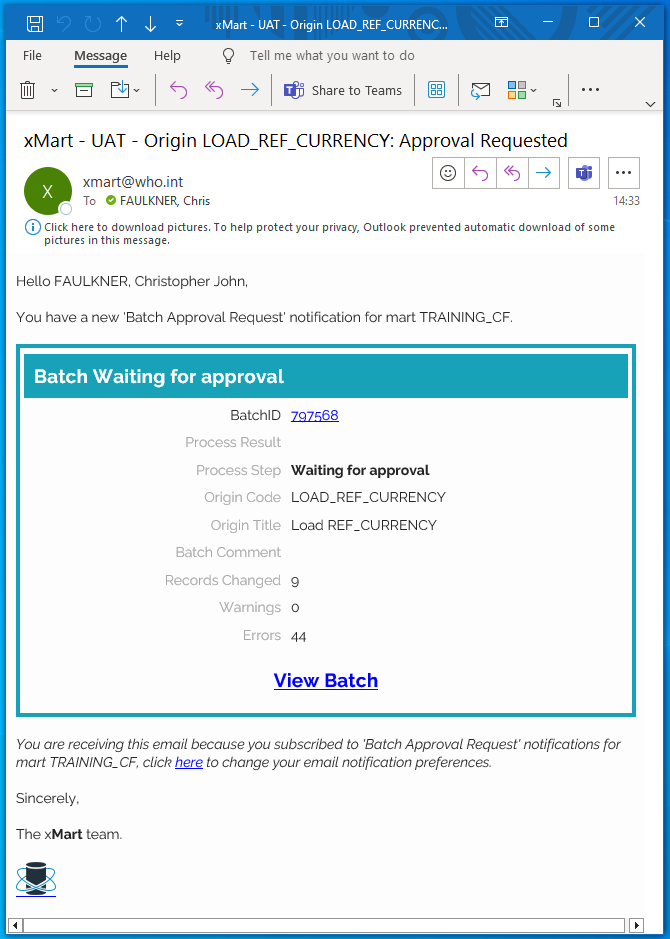
Once the pipeline is set up, when loading a batch all members in the role will receive an email asking them to approve the Commit.

In order to commit, they need to go to the batch and Approve it

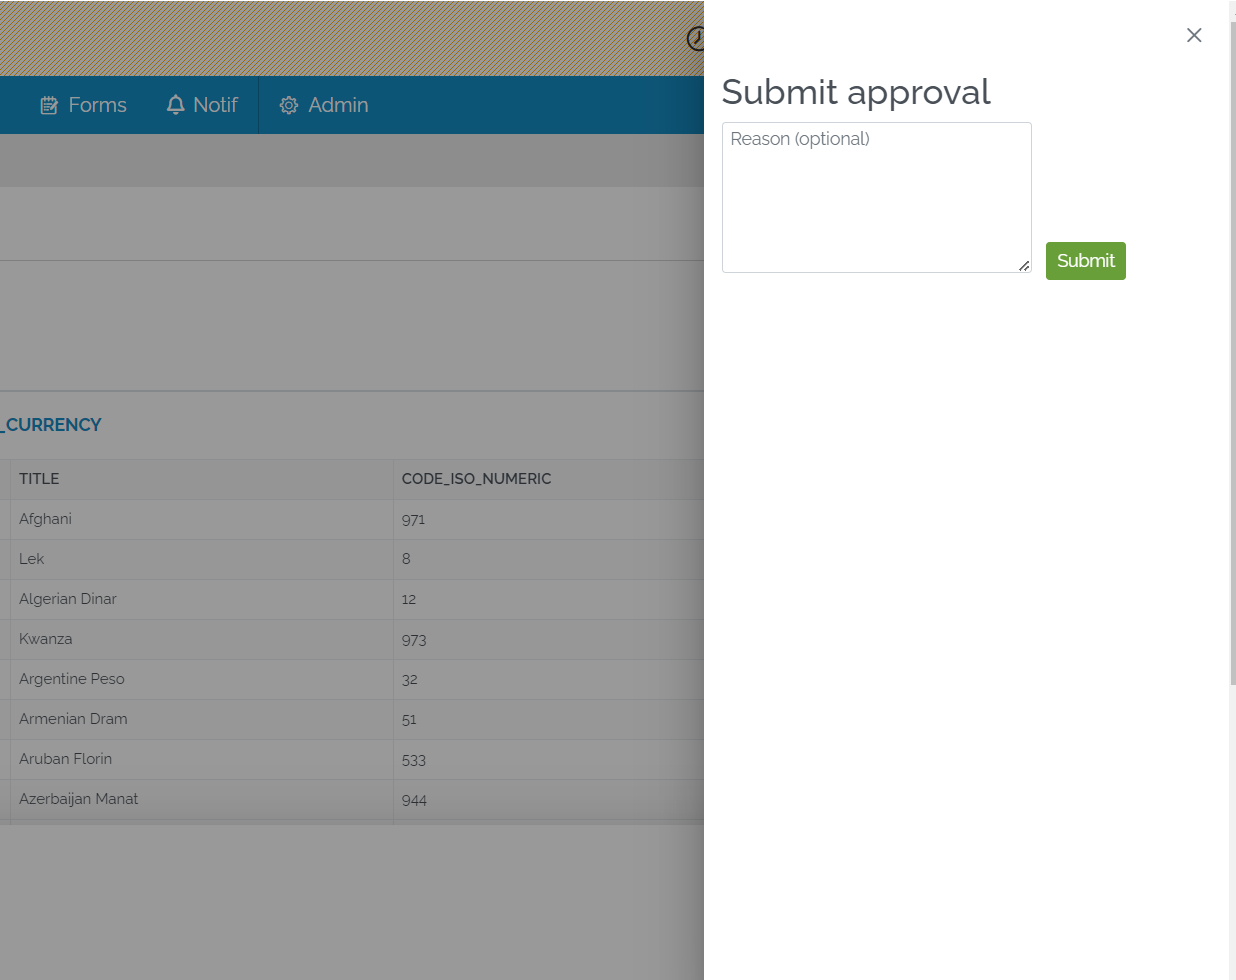
When the user approves the batch, a side panel appears which gives the option to enter a reason for the approval.

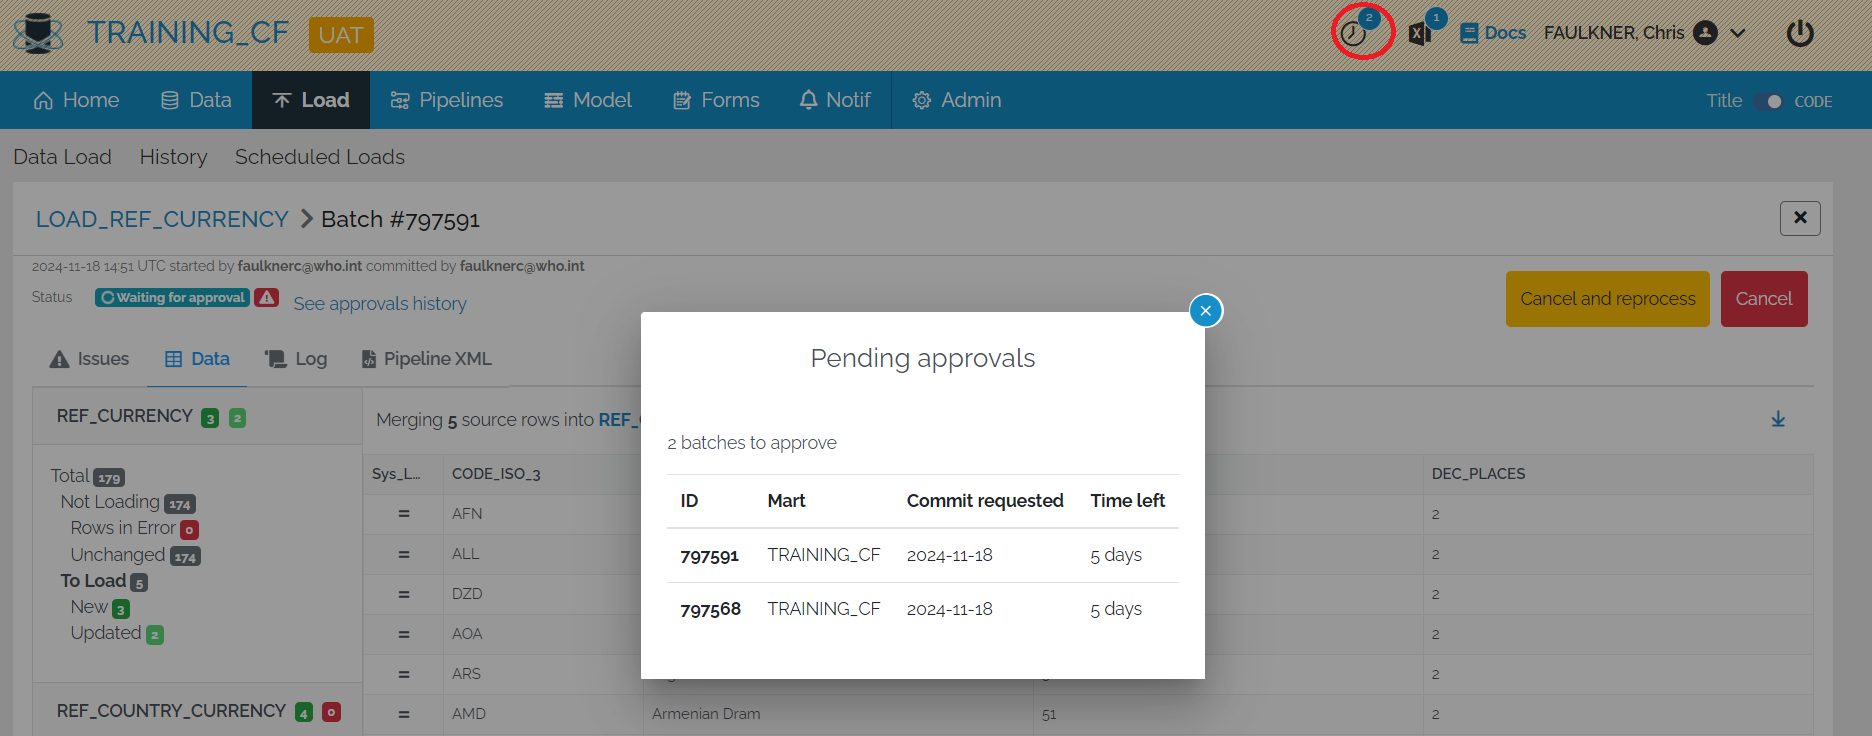
You can see which batches need approval via the top right button:

